“`html
Why Wood Filler Pulls Away From Edges
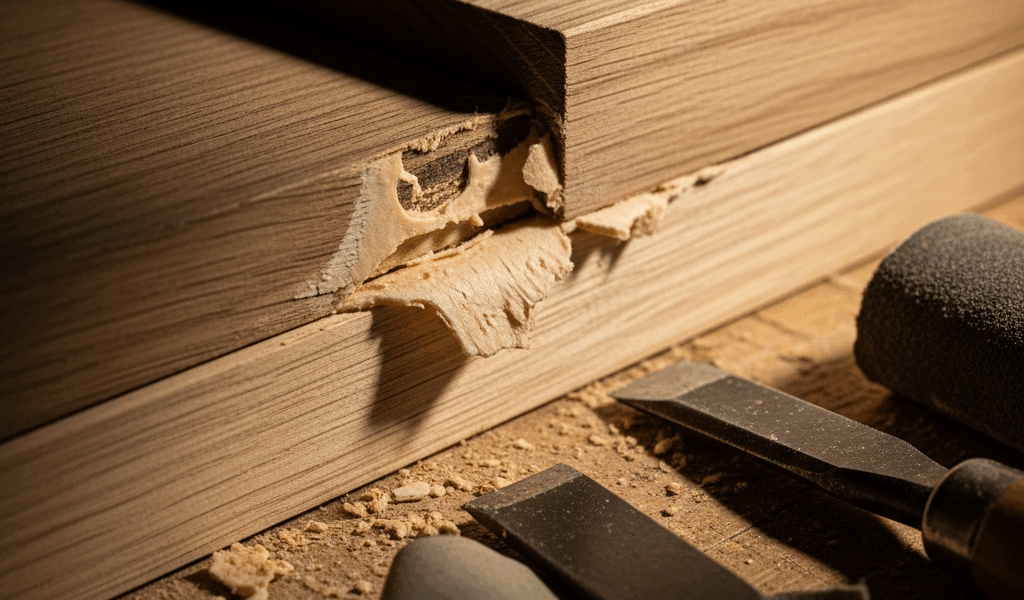
Wood filler not sticking to edges is one of those problems that makes you want to throw your putty knife across the workshop. I’ve spent enough time scraping failed filler attempts off walnut edges to know this isn’t operator error—it’s physics working against you.
End grain and edges absorb moisture differently than face grain. The wood fibers run perpendicular to the surface, creating thousands of tiny capillaries that act like straws. When filler sits on an edge, those capillaries pull water out of the filler faster than anywhere else on the board. Water-based fillers especially suffer here. As the filler dries unevenly—faster at the edges than the center—it shrinks at different rates. The edge grain underneath continues to move as humidity fluctuates in your shop, and the filler simply can’t stretch to keep up. You’re not dealing with a product failure. You’re dealing with wood doing what wood does.
There’s also a mechanical adhesion problem. Face grain has a wavy, interlocking grain structure that gives filler something to grip. Edge grain is smoother, more uniform, and offers less surface area for mechanical lock. Bare wood edge grain is almost polished compared to face grain under magnification. Run your finger across both—you’ll feel the difference immediately.
Most filler products rely on one of two adhesion methods: either they shrink into the wood pores as they cure, or they’re tacky enough to grab whatever’s there. Neither works well on unprepared edges because the wood is drawing moisture out too fast and the surface texture isn’t inviting the filler to stay put. That’s the core issue, honestly.
Prep Your Edges Before Filling
Properly prepared edges stop most of this before it starts. This is where most people skip steps—probably because it feels tedious.
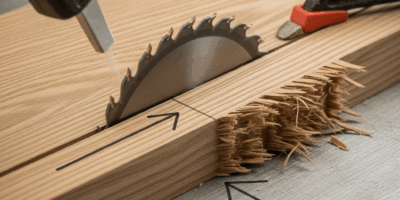
Start by sanding with 120-grit paper. Don’t use 80-grit — you need a finer scratch pattern on edges to give filler something mechanical to grip. Sand perpendicular to the grain direction so you’re creating small divots across the entire surface. Spend 30 seconds per edge. This matters more than you’d think.
Now wipe the edge clean. An air blast gets rid of most dust, but you’re missing the fine powder embedded in those grain pores. Tack cloth removes this. Compressed air alone won’t. I learned this the hard way after months of wondering why filler kept popping off quarter-inch gaps. Don’t make my mistake.
The key move: seal the edge grain before you fill it. Sounds backward, right? You’re actually controlling how fast the wood pulls moisture from the filler instead of letting it happen uncontrolled. Use a wood conditioner like Minwax Pre-Stain (around $8 per quart) or thin shellac — Zinsser SealCoat at $12 works — thinned 50-50 with denatured alcohol. One light coat to the edge only. Then wait 15 minutes.
This pre-seal reduces the absorption rate enough that your filler cures more evenly. The wood still grabs hold, but it’s not vacuuming moisture out of the putty before it can set. On softwoods like pine or fir, this step is non-negotiable. Hardwoods too — I’ve tested both ways too many times to suggest otherwise.
Application Technique That Stops Shrinkage Gaps
Overfill. Not by a lot — maybe 1/8 inch proud of the surface. This prevents the sunken gap that appears when filler shrinks during cure.
Use a flexible putty knife or squeegee. I use a plastic scraper from the hardware store, costs $3, and it does the job better than anything else I’ve tried. Drag the filler along the edge grain, compressing it as you go. Don’t just fill the gap and walk away. The compression matters. You’re forcing the filler into the grain pores and creating mechanical interlock. A 10-inch stroke with firm downward pressure takes 8 seconds and makes the difference between filler that holds and filler that lifts.
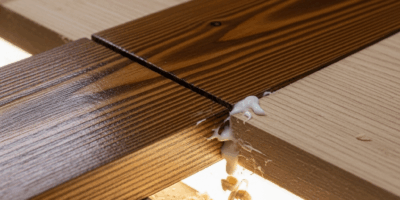
If you’re filling a joint where two boards meet, drag perpendicular to the grain direction of both pieces. You’re not smoothing — you’re packing. Leave it slightly rough. Shaped by the uneven grain, the surface will have tiny peaks and valleys. That’s good adhesion happening.
Let solvent-based fillers cure fully before sanding. Water-based fillers get tacky faster but take longer to fully cure. Check the label. Most water-based fillers need 8-12 hours before they’re really hard enough to sand without tearing. Impatience here creates a second failure point.
Filler Type Matters on Edges
Not all fillers grip edge grain equally. This isn’t ranking them — it’s understanding why edge adhesion varies by product chemistry.
Water-based fillers like Elmer’s Carpenter’s Wood Filler are easy to clean up and cost around $6 per 16 ounces. They dry fast. But edge grain sucks the water out like it’s the last bottle in the desert. By the time the solids have fully hardened, they’ve already shrunk away from the edge. These work on edges if you prep perfectly and prime the grain, but they’re fighting their nature.
Solvent-based fillers — Minwax High Performance or Dap FastNail are the ones I reach for — dry slower and stick better to edge grain. The solvent evaporates more gradually, giving the filler time to flow into grain pores and cure evenly. Around $10 per pint. These are my default choice on edges because the slower cure actually helps on end grain instead of working against you. The smell is intense though — ventilate properly.
Epoxy-based fillers (two-part, roughly $15-20) bond through chemical reaction, not evaporation. They don’t care about edge grain absorption the same way. The downside: they’re harder to sand, less forgiving on stain color match, and honestly overkill for most edge gaps. Use these on edges only if you need structural strength, like a visible void that needs to hold weight.
Post-Cure Sanding and Seal Strategy
After the filler is fully cured, sand flush with 150-grit paper. Use a block so you’re not rounding over the edge and breaking the adhesion line where filler meets wood.
Here’s where most people create a third failure point: they stain directly over the sanded filler without sealing it. Water-based stain wakes up the damp wood fibers underneath the filler, and they move. The filler’s already compromised — this motion can lift it completely.
Seal edges with the same conditioner or thinned shellac you used before filling. This stabilizes the wood underneath and prevents moisture from stain from triggering movement. Then stain normally. The filler stays locked because you’ve eliminated the moisture shock.
For finished work, this prep-and-seal approach holds through humidity swings, temperature changes, and the inevitable wood movement that happens over years. The filler won’t be invisible — colored filler matched to your stain is still visible on edges — but it won’t pull away and create gaps that trap dust and look abandoned.
“`


Stay in the loop
Get the latest classic custom wood furniture updates delivered to your inbox.