Why Wood Burns Darker Than Expected
Wood burning has gotten complicated with all the conflicting advice flying around. Heat, dull edges, feed rate, wood species — each one does something different, and I’ve ruined more pieces than I’d like to admit by diagnosing the wrong cause and making everything worse.
This article includes affiliate links. We may earn a commission at no extra cost to you.
So, without further ado, let’s dive in.
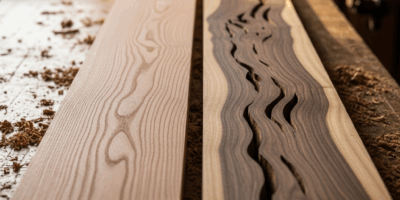
The real culprits are heat buildup, dull cutting edges, feed rate, and wood species. A router bit spinning at 24,000 RPM against the grain generates enough friction to char the surface brown-black in seconds. A pyrography pen held too long in one spot does the same thing. Dull tools make the wood work harder — generating extra heat the whole time. Slow feed rate gives the tool longer contact. And some woods practically invite scorching: oak’s deep grain traps char, pine’s resin pockets ignite fast, and cherry darkens at lower temperatures than maple ever would.
Probably should have opened with this section, honestly. The wood species matters more than most people realize.
Machine Burning vs Hand Tool Burning — Different Problems
They look identical on the surface. They’re not.
Machine Burning — The Real Culprit
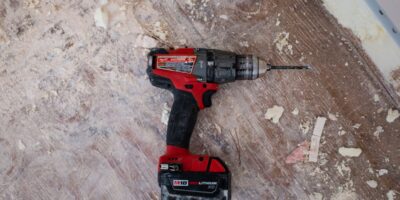
If you’re routing, sawing, sanding, or cutting with powered equipment, friction is burning your wood. A Bosch 1617 router running at full speed cuts a line so hot it leaves brown char along the edge. A table saw blade pushing through dense walnut creates the same effect — wood fibers superheat and carbonize against the bit or blade surface before you even smell it.
Machine burning shows up as:
- Dark brown or black scorch lines along cut edges
- Discoloration concentrated where the tool engaged longest
- Deeper char on oily or resinous species like teak, pine, or exotics
- A smell like burnt plastic if resin ignites
Check your setup first. RPM setting, feed rate, bit sharpness, wood moisture — run through all four before anything else.
Hand Tool Burning — Rare but Real
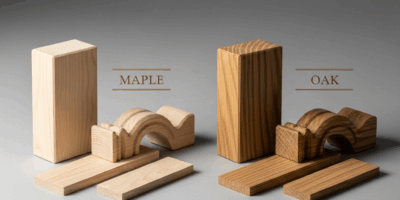
A dull hand plane or chisel heated by friction can absolutely scorch the wood surface. It happens most when you’re working slowly through hard maple or when a blade edge is so worn it rubs instead of cuts. Less common than machine burning — but it happens, and it catches people off guard.
Hand tool burning looks different:
- Localized dark marks under the tool path only
- Often lighter and more brownish than machine burns
- Shows up most on strokes that slow down or catch grain
The fix is simple: sharpen the tool and keep moving. Don’t make my mistake of reworking the wood for an hour before realizing the chisel was the problem the whole time.
How to Fix Burn Marks Already on the Wood
Once the damage exists, your options depend entirely on how deep the char actually goes.
Light Surface Scorch — Sanding Removal
Start with 120-grit sandpaper and sand along the grain. Burned fibers sit near the surface — they sand out faster than sound wood underneath. Light pressure. You’re lifting char, not leveling the board.
Move to 150-grit, then 180-grit if needed. The scorch only darkens permanently when it’s carbonized through the full fiber depth. Sanding along the grain — not across it — keeps the finish from going dull and fuzzy later.
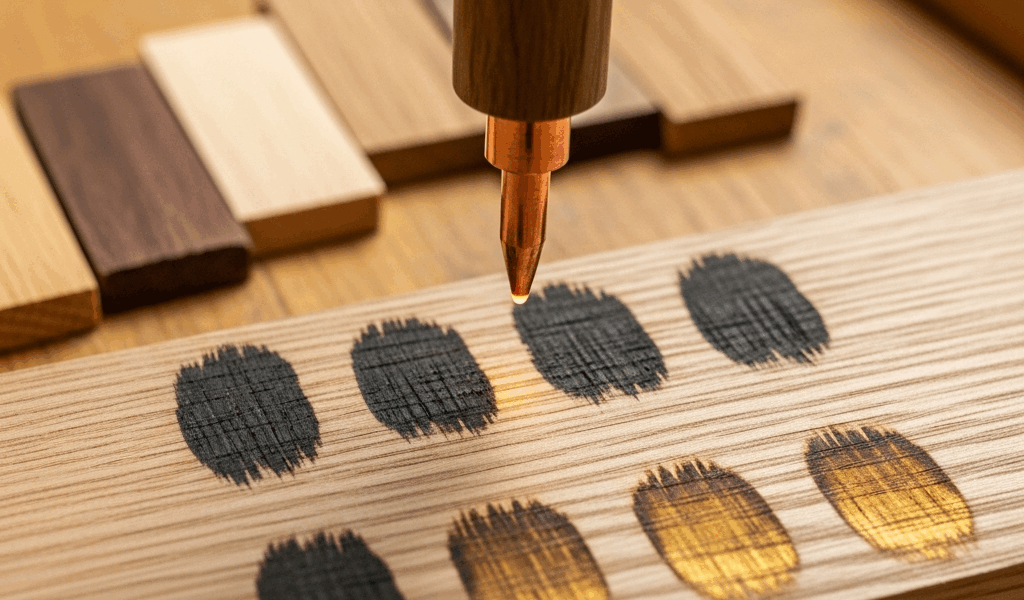
Check your progress every 30 seconds or so. Cherry accepts scorch discoloration deeper than maple because of how it’s pigmented. I’m apparently a slow learner on that one, and cherry has cost me more sanding time than every other species combined.
Precision Removal with Hand Scrapers
For edges and tight areas, a cabinet scraper or card scraper removes char without sand dust fouling everything up. Hold it at 45 degrees and pull toward you along the grain. It leaves a slightly shiny, clean surface — none of the feathering that sandpaper creates on a routed edge.
A single-edge card scraper from Flexcut or Veritas runs $8–15. Works beautifully on walnut, ash, and oak without clogging the way sandpaper does on resinous softwoods. That’s what makes a good card scraper endearing to us woodworkers — it’s a $12 tool that solves a problem a $400 random orbit sander can’t.
The Warning: Uneven Sanding Before Finish
Sand one area harder than the rest and the finish will blotch. Water-based stains and oil finishes absorb unevenly into freshly sanded wood — you end up with light and dark patches that look worse than the original burn mark did. Far worse, honestly.
One light pass of 180-grit across the entire surface keeps absorption uniform. This matters especially on softwoods like pine, where uneven prep shows up immediately under any finish.
How to Prevent Wood from Burning in the First Place
Prevention saves hours of sanding — and saves the piece entirely if you’re close to a finished surface.
Feed Rate and Speed Settings
Slow feed rate burns more than fast feed rate. A router bit moving at 2 feet per minute creates friction far longer than one moving at 6 feet per minute. Aggressive depth cuts burn too — take ¼-inch passes instead of ½-inch passes on dense hardwoods. Simple change, big difference.
RPM matters here as well. High RPM paired with slow feed equals char. On a table saw, a 10-inch blade at 3,450 RPM cuts clean. That same blade at 3,000 RPM sometimes burns the same material. Check your manual for recommended speeds by material — at least if you’re working with anything harder than soft pine.
Tool Sharpness — Non-Negotiable
A dull router bit produces heat instead of chips. I learned this routing walnut for cabinet doors with a bit that had maybe six hours of use on it. The edges were rounded, not sharp, and the scorch came out so dark I had to recut the rails entirely. That was a $40 panel and an afternoon gone.
Sharp bits are cheaper than ruined wood. Replace router bits after 20–40 hours depending on hardness. A Whiteside or Freud bit runs $15–35 and lasts longer than a no-name $4 bit that dulls in half the time. Do the math once and you’ll never buy cheap bits again.
Wood Moisture Content
Wet wood doesn’t burn as easily as dry wood — moisture absorbs heat energy before it can char the fibers. Store your stock at shop humidity, somewhere around 45–55% relative humidity. Bring pine in from outdoors and let it acclimate a full week before routing or sawing. Rushing that step burns wood. Every time.
Resinous Softwoods — Wax Lubrication
Pine, fir, and spruce burn fast because resin pockets ignite under friction. Paraffin wax rubbed directly on a router bit or table saw blade helps — the wax melts under heat, reduces friction, keeps the blade cooler through the cut. A $3 stick of Gulf Wax lasts months used sparingly.
Don’t wax bandsaw blades — it clogs the teeth. But for routers and circular saws cutting pine, it genuinely works.
When Burn Marks Are Too Deep to Sand Out
Sometimes you’ve scorched past the surface layer entirely. Deep burns don’t come out with sandpaper, no matter how long you work at it.
The Fingernail Test
Run your fingernail across the burn mark. If you feel the char as a raised edge — or if 50 sanding strokes only removes half the discoloration — the burn is deep. You’re into different decisions now.
Resaw or Replane
If the piece is thick enough, resaw the board on a bandsaw at ¼-inch and plane it down. You’re removing the entire top surface — char and all. Works well on bench stock or thick turning blanks. Costs you time and material on thin panels, though. A thickness planer set to ⅛-inch depth per pass removes char cleanly, but you lose that thickness permanently.
Finishing Over Deep Burns
On darker woods like walnut or wenge, a tinted finish — oil stain, wipe-on poly with pigment, or gel stain — can blend the discoloration into the surrounding wood. The darker finish masks the char well enough that it disappears visually. This doesn’t work on light woods like ash or holly, where the burn shows through any finish you put over it.
It’s an honest last resort. The burn is still there. You’re just hiding it — and sometimes that’s the right call.

Stay in the loop
Get the latest classic custom wood furniture updates delivered to your inbox.