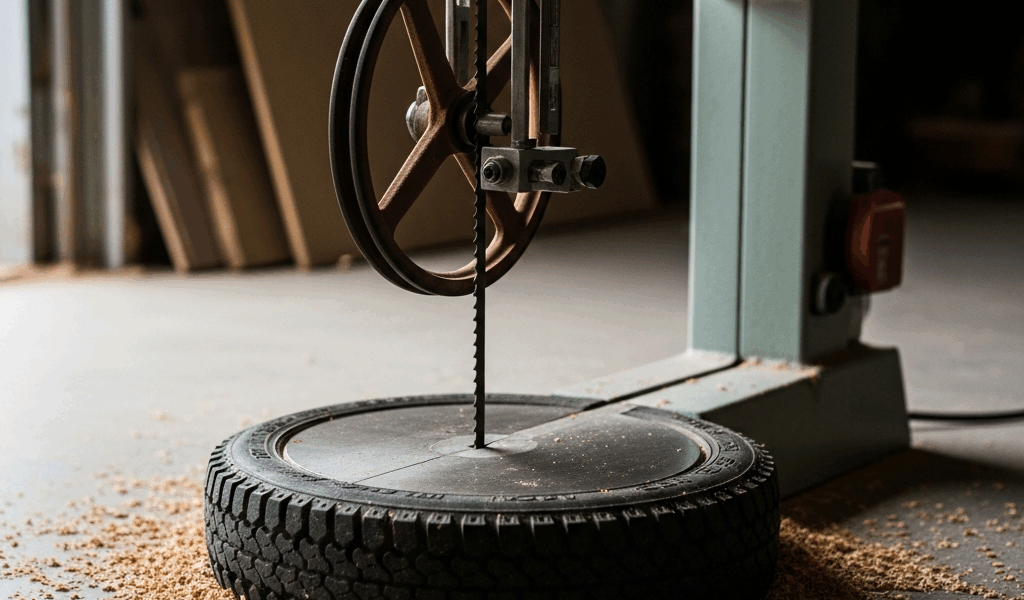
If your bandsaw blade keeps coming off, stop the saw and disconnect it from power before opening the wheel covers or making adjustments. A blade that slips off at startup usually points to installation, tension, or tracking. A blade that stays on until you begin cutting more often points to feed pressure, the wrong blade for the cut, guides, damage, or a dull blade.
Use this guide as a troubleshooting order, but follow the setup and safety instructions for your exact bandsaw. Blade position, guide clearance, tension controls, and approved tracking procedures vary by model.
Quick Diagnosis: When Does the Blade Come Off?
- Immediately after installing a blade: confirm the blade length and width, tooth direction, tension, and tracking before adjusting anything else.
- At startup or while coasting down: inspect tracking, wheel tires, blade weld, and whether the blade is seated correctly.
- Only during a cut: reduce feed pressure and check blade sharpness, blade width, guides, and whether the work is twisting the blade.
- Only on curves: the blade may be too wide for the radius, or the operator may be forcing the work sideways.
- After every adjustment: stop changing settings and check the manual; a damaged tire, wheel, tension assembly, or blade may need service.
1. Confirm the Blade Is Correctly Installed
With the machine unplugged, verify that the blade matches the saw’s specified length and permitted width range. At the cutting area, the teeth normally point down toward the table and toward the front of a woodworking bandsaw. Make sure the blade is not kinked, cracked, missing teeth, or damaged at its weld.
Back the upper and lower guides away before tensioning and tracking a newly installed blade unless your manual specifies a different sequence. This prevents a guide from steering the blade while you are trying to establish its natural position on the wheels.
2. Set Blade Tension According to the Manual
Too little tension can let a blade wander or move under cutting pressure. Too much can damage the blade or saw. Start with the tension indicator or procedure supplied for your machine and blade width. Do not keep tightening simply because the blade comes off; incorrect tracking, guides, tires, blade choice, or machine damage will not be cured by excessive tension.
Some manufacturers describe a deflection check, but the location, unsupported span, applied pressure, and acceptable movement matter. For example, particular Rikon and Grizzly instructions use roughly 1/4-inch deflection under their stated test conditions. That is not a universal specification for every saw. Your model’s manual takes priority.
3. Track the Blade by Hand Before a Powered Test
Keep the saw disconnected from power. After applying the specified tension, rotate the upper wheel slowly by hand while keeping fingers clear of pinch points. Watch whether the blade settles into a repeatable position or walks toward an edge. Make small tracking adjustments and rotate the wheel several times after each one.
Do not assume every blade must be positioned the same way on every wheel. Many crowned-wheel manuals call for centering the blade on the crown, while some saw or blade makers specify a different relationship between the blade body, gullets, teeth, and tire. Use the procedure for your machine.
Lock the tracking adjustment when the blade remains stable. Reinstall every guard and insert, close both doors, remove tools and loose parts, and follow the manual’s powered-test procedure. Never reach into an open wheel housing while the saw is connected or moving.
4. Inspect the Wheel Tires and Blade
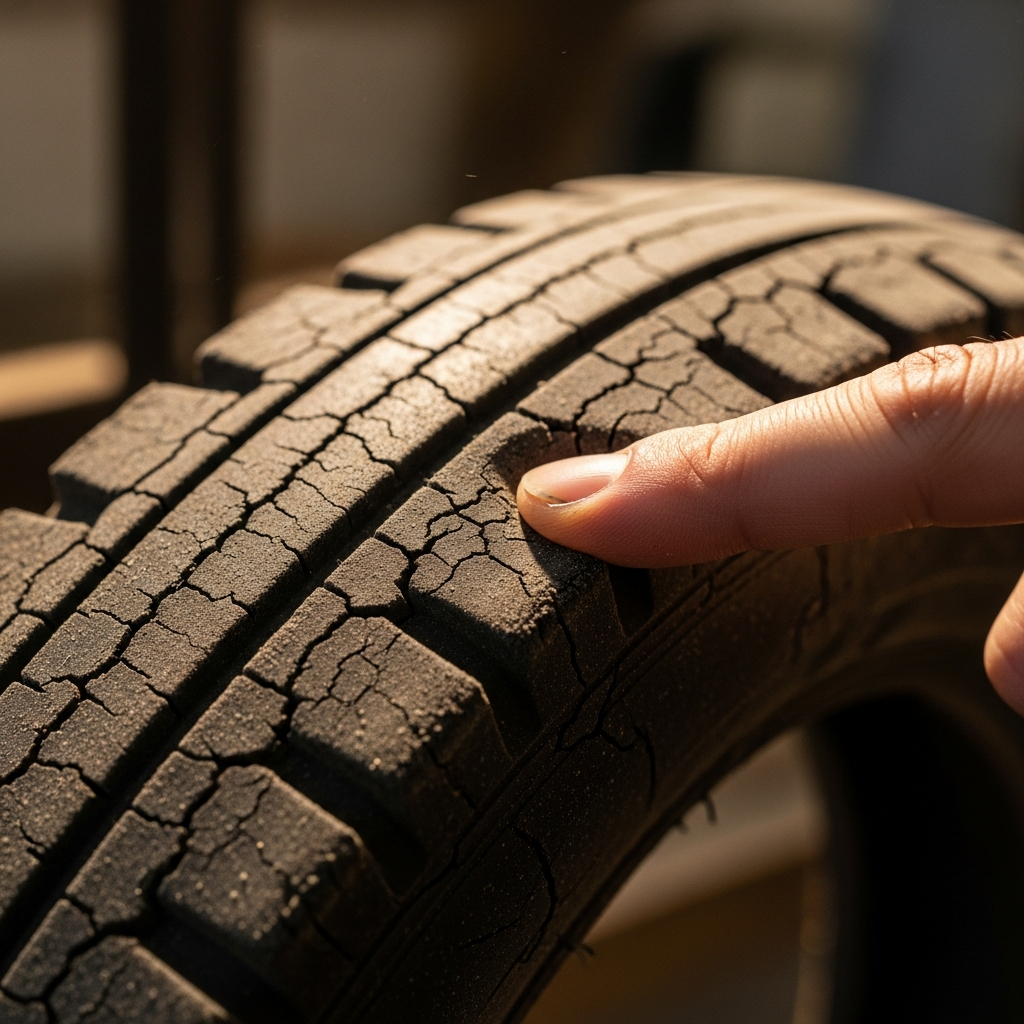
Remove the blade only after disconnecting power and releasing tension as directed. Inspect both tires for cracks, missing sections, looseness, hardened or glazed surfaces, uneven wear, and a groove that has changed the intended profile. Clean pitch and compacted dust using products and methods approved by the manufacturer.
Replace a damaged tire with the correct size and type for the wheel. Installation methods differ: some tires stretch on, some use adhesive, and some require wheel removal or trimming. Follow the tire and saw manufacturer’s instructions rather than relying on a universal heating or prying trick.
Also inspect the blade for a rough or crooked weld, cracks, bent sections, damaged teeth, and pitch buildup. If one blade repeatedly comes off but another correctly sized blade tracks normally, the blade itself is the likely fault.
5. Set the Guides After Tension and Tracking
Set both upper and lower side guides and thrust supports only after the blade is tensioned and tracking correctly. Guides should support the blade during a cut without forcing its free-running position. Exact clearances and the correct location relative to the teeth or gullets depend on whether the saw uses blocks, bearings, or ceramic guides.
Check the lower guides even though they are harder to see. A seized bearing, damaged block, or guide positioned against the teeth can heat, twist, or steer the blade. Replace damaged parts with components approved for the machine.
6. Match Blade Width and Feed to the Cut
A narrow blade can turn a tighter curve; a wider blade has more beam strength for straight cuts and resawing. But the saw—not wheel diameter alone—determines the allowed blade-width range. Check the machine specifications and use a blade suited to the radius, stock thickness, and material.
For more detail, see our bandsaw blade selection guide. Whatever blade you use, let it cut at a sustainable rate. Pushing too hard, twisting the work, backing out of a curve while the blade is moving, or allowing the kerf to close can pull the blade sideways.
When to Stop and Get the Saw Serviced
Stop using the saw if the blade will not remain stable during hand rotation, a wheel wobbles, the tire is loose or damaged, the tension mechanism slips, guards are damaged, or the blade comes off again after a manual-correct setup. Wheel alignment and coplanarity are model-specific service procedures and should come after blade, tension, tracking, tire, and guide checks—not as the first adjustment.

Stay in the loop
Get the latest classic custom wood furniture updates delivered to your inbox.