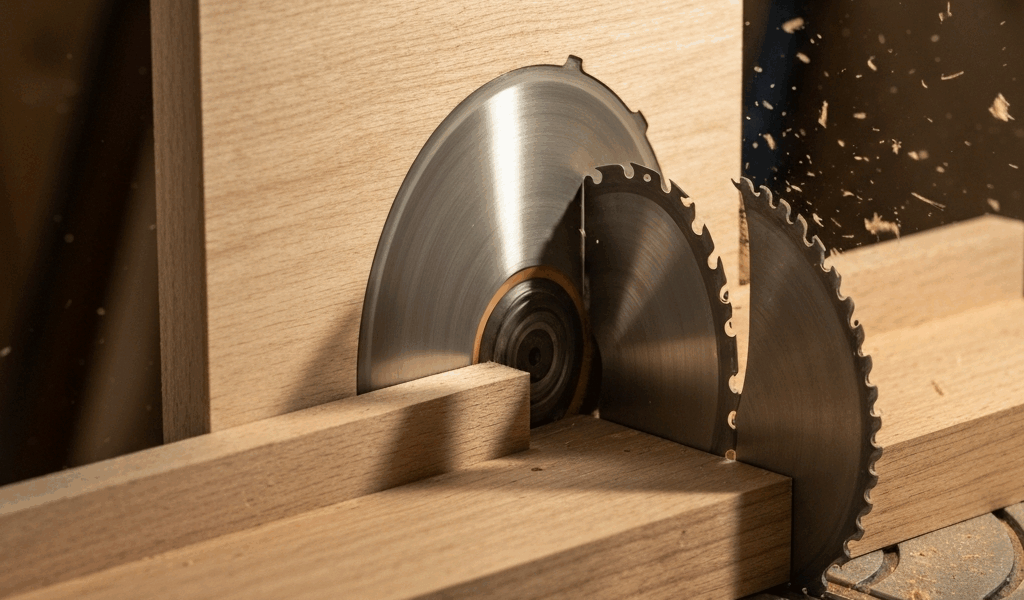
Why Miter Saws Chip Out Crosscuts
Wood chipping out when crosscutting with a miter saw is one of those frustrations that stops you mid-project. As someone who’s spent the last eight years working with both miter saws and table saws, I learned everything there is to know about why tearout behaves completely differently between the two. The mechanics matter here — honestly, they matter a lot.
On a miter saw, the blade descends at a steep angle into the workpiece, and the teeth exit through the top surface at roughly 90 degrees to the grain. That exit angle is your problem. Unlike a table saw, where the blade cuts parallel to your feed direction, a miter saw’s geometry means the fibers on the exit side get violently wrenched upward by the blade’s rotation before they can be cleanly severed. Grain running the wrong direction? Dull blade? Spinning too fast? Pushing through too quickly? Pick any of those and the wood fibers tear out in rough, splintered chunks instead of breaking cleanly.
The speed mismatch is real too. Most miter saws run between 3,000 and 5,000 RPM. Push the wood through faster than the blade can cleanly cut, and you’re asking for trouble. Probably should have opened with this section, honestly — understanding why the problem exists makes the fixes actually make sense.
Choose the Right Blade for Crosscutting
Your blade choice is the single most impactful decision you can make to stop tearout. Not all 10-inch miter saw blades are created equal. The difference between a budget blade and one designed specifically for crosscutting shows up instantly in your first cut.
For hardwoods and fine crosscuts, shoot for 60 to 80 teeth. I typically run a 72-tooth blade on my DeWalt DWS779 for anything that needs to look good. Tooth count matters because more teeth mean smaller bite sizes per tooth — each tooth removes less wood per revolution, so the fibers get severed more cleanly rather than ripped. A 40-tooth blade works fine for ripping, but it will leave a ragged exit edge when crosscutting hardwoods.
The geometry of those teeth matters just as much. Look for an Alternate Top Bevel (ATB) pattern rather than Flat Top Grind (FTG). ATB blades have teeth angled alternately left and right, which creates a shearing action at the fiber level instead of a chopping action. That shearing prevents tearout. The beveled teeth essentially score the wood as they enter and exit, breaking the grain fibers cleanly rather than tearing them.
Brand-agnostic specs to verify: carbide-tipped blades with kerf width under 0.090 inches, rated for fine crosscutting. Freud, Diablo, and Festool excel here — typically $25 to $50. A dull blade accelerates tearout dramatically, so if your current blade is over two years old and you’re making frequent cuts, replace it regardless of visible wear.
Backing Board and Fence Setup Fixes
This is where most DIYers never look, and honestly, I personally missed the real solution for way too long. A backer board — just thin scrap clamped to the back of your workpiece — can reduce tearout by 80 percent. Here’s what happens: the backer board supports the wood fibers on the exit side so they can’t tear upward when the blade passes through.
The process is straightforward. Cut 1/4-inch plywood or hardboard roughly 12 inches long and the same width as your workpiece. Position it behind your stock, flush against the back edge. Use a C-clamp at each end — I typically use two 4-inch clamps spaced about 6 inches apart on a standard 8-foot board. The key detail most people miss: position the clamps on the fence side of the backer board, not on the side facing you. This keeps clamp handles out of the blade’s path and maintains even pressure across the cut.
Set up your fence for a 1/4-inch to 5/16-inch gap between the backer board and the blade. This sounds counterintuitive, but that gap matters — too close and the board binds, too far and it stops supporting the fibers before the blade exits. I’ve found 1/4 inch is the sweet spot on most miter saws. Mark this distance on your fence as a reference point. Tape works fine.
The fence angle itself deserves attention. Most miter saws sit at 90 degrees, but very slightly angling it back — maybe 1 or 2 degrees — can reduce pressure between the workpiece and the backer board, actually improving cut quality. You don’t need to adjust it permanently. Just notice if your fence has wear patterns and angle slightly against them.
Hand pressure placement changes everything. Don’t press down on the workpiece. Instead, apply pressure toward the fence. This keeps the wood stable without forcing the backer board to work harder than intended. A light touch beats a death grip. Once the blade starts spinning, let the saw do its job.
Feed Speed and Technique Adjustments
Rushing the cut is the most common mistake I see, and I’ve made it plenty of times myself. A slow, steady feed creates clean crosscuts. A fast, aggressive push creates splinters and frustration.
Here’s the practical rhythm that works: Start the blade and let it reach full speed — that takes about two seconds on most saws. Lower the blade slowly. And I mean slowly. Let it make contact with the wood. For a crosscut on standard 3/4-inch hardwood, the blade should take roughly 2 to 3 seconds to pass completely through the wood. If you’re watching your hand and wrist, they should barely be moving. Any faster and you’re feeding too aggressively.
Your hand position makes a difference. Keep your hands flat on top of the workpiece, never curled underneath. Thumbs on the far side of the stock from the blade, fingers spread wide for balance. As the blade comes down, keep consistent downward pressure without pushing horizontally toward or away from the fence. Push the wood into the fence, not past it.
Uneven pressure is a silent killer. If your left hand presses harder than your right, the workpiece rotates slightly and the blade exit angle changes. That’s when tearout happens. Pressure should feel balanced and light. Think of it as guiding the cut rather than forcing it.
One thing I’ve learned the hard way: let the blade come to a complete stop before lifting. Lifting early causes binding and jerky motion that tears grain. Complete stop, then lift. Takes an extra second and saves the part.
When Grain Direction Makes All the Difference
Some wood species are just inherently prone to tearout, and understanding why helps you work around it. Curly maple, figured walnut, and hardwoods with interlocked or reverse grain will chip out even with perfect technique and equipment. It’s not a failure. It’s wood being wood.
Read the grain before you cut. Look at the end grain and the face grain direction. Grain generally runs from one end of the board toward the other, with fibers sloping either up or down across the width. When possible, orient your crosscut so the grain slopes downward away from the exit side of your blade. This reduces the upward tear angle. If your board is 8 feet long and you’re crosscutting at the 4-foot mark, flip it end-for-end to improve the grain direction.
Flipping the workpiece and cutting from the opposite side is a backup option. Flip it 180 degrees and make another shallow pass — 1/16 inch deep — from the opposite face before completing the cut. The second pass creates a scored line that the final blade pass can follow, reducing tearout on both edges. It adds 30 seconds and makes a visible difference on figured woods.
Scoring with a utility knife before crosscutting also works, especially on show faces. A shallow knife line along your cut mark severs surface fibers before the saw reaches them, reducing tear severity. This is old furniture-making technique and it genuinely works.
Acknowledge that some parts simply won’t be perfect. Edge banding, trim, or sanding can fix minor tearout. But with a sharp blade, proper backing support, and steady technique, you’ll eliminate the worst of it. The combination of these three — blade quality, backer board support, and controlled feed speed — handles probably 95 percent of your tearout problems on a miter saw.

Stay in the loop
Get the latest classic custom wood furniture updates delivered to your inbox.