Wood Filler vs Wood Putty — Which One Should You Use
Wood filler vs wood putty has gotten complicated with all the vague packaging and misleading product names flying around. As someone who grabbed the wrong one mid-project and watched a perfectly good stain job turn into a blotchy, uneven disaster, I learned everything there is to know about these two products the hard way. Today, I will share it all with you.
I was standing in the paint aisle at Home Depot — tube in each hand, genuinely stumped — when I made the wrong call. Applied putty under a finish-grade surface. The results were ugly. These two products are not interchangeable, and the labels rarely make that obvious.
What Is the Actual Difference Between These Two Products
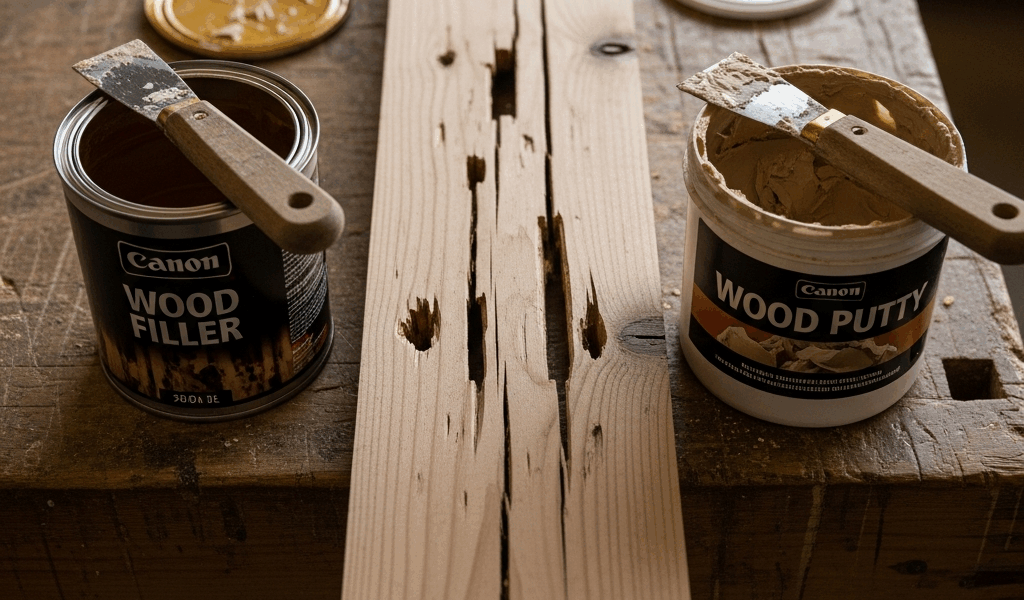
But what is wood filler? In essence, it’s a compound that hardens completely. But it’s much more than that. Once cured, you can sand it, shape it, drill into it, and lay finish right over it. It’s built for raw, unfinished wood — think structural repair territory. It fills volume, holds shape, and basically becomes a new piece of the surface once it sets. Elmer’s Carpenter’s Wood Filler and Minwax High Performance Wood Filler are the two you’ll see most often at the big box stores.
Wood putty? Different animal entirely. It stays flexible. Never fully hardens. Oil-based or latex-based, designed specifically for surfaces that already have a finish on them. That flexibility isn’t a flaw — it’s the whole point. Wood moves with humidity and temperature shifts, and putty moves right along with it instead of cracking loose. DAP Plastic Wood and Timbermate show up constantly on shelves. Worth noting: Timbermate actually behaves closer to a filler in terms of hardness. Good to know before you buy it expecting soft, pliable putty.
Most people mix these up because the packaging uses both terms loosely. Some products literally say “wood filler” on the label but behave exactly like putty. Read the cure description. “Sands smooth” means filler. “No shrinking or cracking after finish” — that’s putty language.
When Wood Filler Is the Right Call
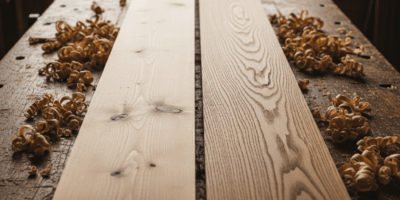
Raw wood that still needs sanding and finishing — that’s filler territory. Large gaps, deep gouges, missing chunks, cracks in structural pieces. The repair needs to accept whatever’s going on top, whether that’s paint, stain, or a clear coat. So, without further ado, let’s dive into where it actually gets tricky.
Stainability varies wildly between brands. Even between colors within the same brand. Minwax’s stainable formula genuinely takes stain reasonably well — especially paired with a matching Minwax stain. Elmer’s standard formula? Much less predictable. I repaired a pine shelf once using Elmer’s, then hit it with Varathane Early American stain. The filled areas came out noticeably lighter, almost gray, against the surrounding wood grain. Ended up painting the whole shelf. Lesson absorbed. Don’t make my mistake.
If stain-matching matters on your project, test on scrap first. Always. Working with hardwood — oak, walnut, maple — consider a tinted filler, or mix actual sawdust from the project board with a binder for a closer color match. Sounds fussy. It works.
Filler also needs time. Most water-based versions need at least two to four hours before sanding. Some solvent-based formulas want overnight. Sanding undercured filler just pulls it back out of the hole. You’re starting over. Probably should have opened with this warning, honestly.
When Wood Putty Is the Right Call
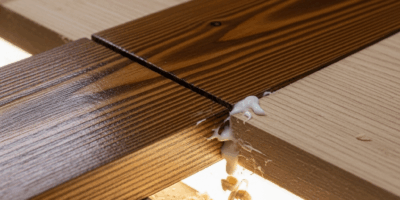
Putty is a post-finish product — that’s the whole point of it. You finish the piece first, then deal with nail holes, small dings, and cosmetic imperfections that only become visible once the finish is on. Painters do this constantly. Shoot the nails, paint, then putty, then touch up. Press it into the hole, smooth it flush, done. No adhesion issue because it’s already sitting over cured finish.
That’s what makes putty’s flexibility endearing to us woodworkers and finish carpenters who work outdoors. Teak bench repair, painted deck railing, exterior trim that’s already been painted — putty handles the seasonal movement without cracking out of the repair. Filler in those same situations will eventually pop loose or craze on the surface as the wood expands and contracts through the seasons.
Color matching is where putty genuinely earns its place on fine furniture. DAP, Famowood, Crawford’s — most sell putty in a solid range of wood tones. You match it to the stained finish, not to raw wood. Press it in, feather the edges with a fingertip, wipe the excess. No sanding required in most cases, which is the other reason it goes on after finishing. Sanding cured lacquer or polyurethane to blend a repair is a whole separate problem you don’t want on your hands.
Side-by-Side Comparison by Project Type
Probably should have opened with this section, honestly. Most people scroll straight here — completely reasonable.
| Project Situation | Use This | Quick Reason |
|---|---|---|
| Painted furniture repair — filling old screw holes before repainting | Wood Filler | Raw wood, pre-finish, needs to be sanded flush |
| Stained hardwood floor — filling gaps between boards after installation | Wood Filler (stainable) | Goes under finish; test stain match first |
| Outdoor deck repair — filling checks in painted deck boards | Wood Putty | Already finished surface, needs flexibility for movement |
| Fine furniture finishing — hiding nail holes after applying stain and lacquer | Wood Putty | Post-finish application, color-matched to the topcoat |
| Cabinet door — large dent or gouge before painting | Wood Filler | Needs to be sanded smooth, primed, and painted over |
| Painted baseboard trim — small dings after installation | Wood Putty or Spackling | Cosmetic fix over finished surface, minimal movement |
| Exterior window trim — cracks in painted wood after winter | Wood Putty (exterior-rated) | Flexibility needed, already painted, look for “exterior” label |
Common Mistakes That Ruin the Repair
Frustrated by a nail hole on a raw oak tabletop, someone grabs a pre-colored putty, fills it, and then tries to stain right over it. Putty doesn’t accept stain. The hole ends up as a flat-colored dot — honestly worse-looking than the original hole. Use filler, let it cure fully, sand it down, then stain. That sequence matters.
The reverse mistake happens just as often. People apply filler over a cured finish. Filler needs raw wood for adhesion. Over polyurethane or lacquer, it either won’t bond at all or pops loose within a few weeks. Already-finished surface with something to fill? Use putty — or scuff the finish off completely and treat it as a raw surface repair from scratch.
Overfilling is another one I’ve done myself more than once. I’m apparently an over-packer by nature and mounding filler above the surface works fine for small repairs. On deeper fills, though, the outer edges cure faster than the center. By the time you sand it flat, the middle is still soft underneath. For anything deeper than about a quarter inch, build it up in layers — let each one cure before adding the next. Yes, it takes longer. No, there’s no shortcut worth taking.
Finally — sanding through veneer trying to level a filled repair. Veneered plywood and furniture panels run thin. Sometimes only a millimeter or two of real wood on top. Filler can create a slightly raised halo around the repair that tempts you to sand aggressively. Go slow with 120-grit, move to 150-grit, and check constantly with a straightedge. Burning through veneer is unrecoverable — a small repair becomes a full panel replacement. That was a $200 lesson for me on a cabinet door rebuild in 2019.
Get the right product for the situation. Give it the cure time it needs. Most repairs end up invisible. That’s the whole game.

Stay in the loop
Get the latest classic custom wood furniture updates delivered to your inbox.