Spokeshave technique has gotten complicated with all the Instagram-perfect shaving videos and conflicting advice flying around. As someone who picked up my first spokeshave over fifteen years ago and promptly gouged a chair leg, I learned everything there is to know about shaping curves with these incredible hand tools. Today, I will share it all with you.
Why the Spokeshave Deserves a Spot on Your Bench
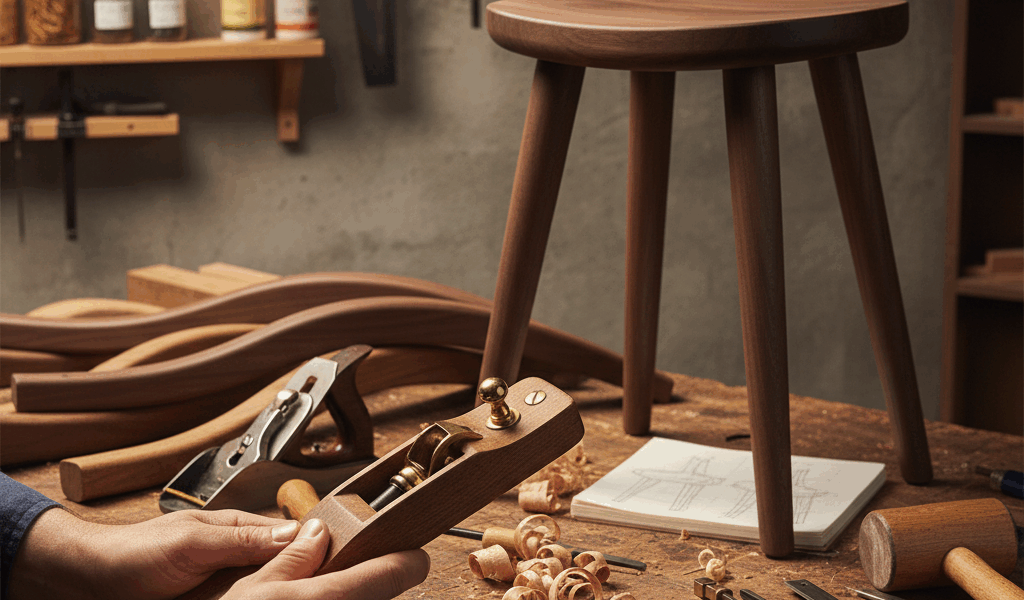
The spokeshave is one of those tools that looks deceptively simple. Two handles, a short sole, a blade in the middle. But once you learn to use it properly, it opens up a world of curved and shaped work that power tools struggle to match. I use mine to refine shapes after rough cutting on the bandsaw, round over edges with more control than a router, and remove tool marks from spindle work.
Chair making is where the spokeshave truly comes alive. Shaping legs, arms, and spindles by hand with a spokeshave gives you a tactile connection to the work that no machine can replicate. That’s what makes spokeshave work endearing to us hand tool woodworkers — the shavings curl off and the shape emerges right under your hands in real time.
Types of Spokeshaves You Should Know
Probably should have led with this section, honestly. Buying the wrong spokeshave for the job will make you think the tool is useless when really you just have the wrong sole profile.
A flat bottom spokeshave handles convex curves — think the outside of a cabriole leg or the top of an armrest. This is the one to buy first. It is the most versatile and handles the majority of shaping tasks you will run into.
A round bottom spokeshave is what you need for concave shapes, like the inside of a chair seat scoop or a cove detail. The curved sole follows the inside of the curve without digging in at the edges. I went years without one and just used gouges for concave work. Getting a round-bottom spokeshave changed my workflow completely.
Adjustable throat models let you control the size of the opening in front of the blade. A tighter throat means thinner shavings and less risk of tearout. Low-angle versions excel at end grain work, which comes up more often than you might expect when shaping curved parts.
Setup and Sharpening
I am going to be blunt. A dull spokeshave is absolutely worthless. It will skip, chatter, and tear the wood instead of shaving it smoothly. Before you blame the tool, sharpen the blade. I sharpen mine on waterstones — same as my chisels and plane irons. A quick session on a thousand grit followed by a strop gets the edge back in minutes.
Set the blade for the thinnest shaving you can manage, especially when you are starting out. You can always take more off. You cannot put wood back. Adjust the cap or chipbreaker to control the throat opening. A tight throat gives you cleaner cuts on figured or tricky grain.
Test on a piece of scrap before you touch your actual workpiece. I have a chunk of poplar that lives next to my bench specifically for testing tool setups. Five seconds of testing saves you from a gouge on your project piece.
Technique That Actually Works
Grain direction matters more with a spokeshave than almost any other tool. Always work with the grain — that means cutting in the direction where the fibers slope away from the surface. On curved pieces, the grain direction changes as you go around the curve. This means you will flip the piece or switch cutting direction partway through. It took me a while to develop the feel for this, but once you get it, it becomes second nature.
Use light pressure. The spokeshave is not a hog. Let the sharp edge do the work. Grip both handles firmly but do not death-grip them. I find a pulling stroke gives me more control on convex curves, while pushing works better on flat or slightly curved surfaces. Some woodworkers are pushers, some are pullers. Try both and go with what feels natural.
Rotate your workpiece in the vise as you go. A lot of beginners try to do everything from one angle and end up fighting the grain. Shift the piece so gravity and body mechanics work in your favor. When I am shaping a chair leg, I might reposition it in the vise six or seven times to work every facet cleanly.


Stay in the loop
Get the latest classic custom wood furniture updates delivered to your inbox.