Router bits have gotten complicated with all the specialty profiles and coated carbide options flying around. As someone who started with a single straight bit and now has a drawer full of them organized by type, I learned everything there is to know about which bits actually matter. Today, I will share it all with you.
Straight Bits — Your Workhorse
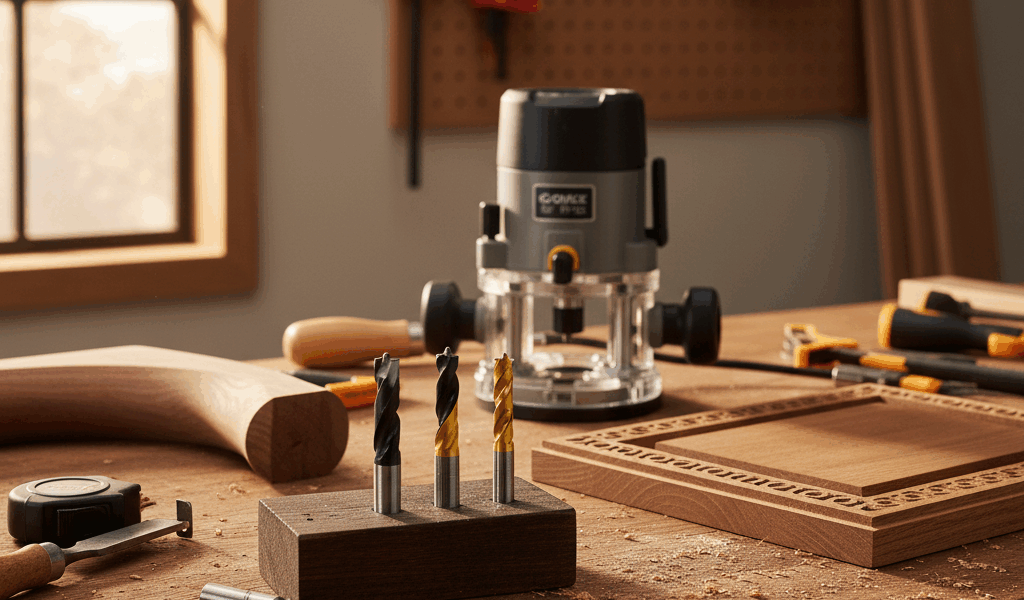
This is the bit you will reach for more than any other. Flat bottom grooves, dadoes, rabbets, mortises, template work — straight bits handle all of it. Get a few sizes and you are covered for ninety percent of routing tasks. I keep quarter-inch, half-inch, and three-quarter-inch straight bits within arm’s reach at all times.
Two-flute is the standard configuration and what I recommend for most work. Single flute removes material faster but leaves a rougher surface. Three flute is smoother but slower and generates more heat. Unless you have a specific reason to go otherwise, two-flute is your best bet. That’s what makes straight bits endearing to us router users — they are versatile enough to handle almost anything you throw at them.
Flush Trim Bits — The Template Master
Probably should have led with this section, honestly. A flush trim bit has a bearing that is the same diameter as the cutter. It follows a template or reference surface and cuts everything flush to it. This is how you make multiple identical pieces — cut one template accurately, then route copies from rough-cut blanks.
Top-bearing flush trim bits reference from the top of the workpiece, bottom-bearing from the bottom. The practical difference is which surface your template sits against. I use top-bearing most of the time because I can stick the template on top where I can see it. Eventually you will want both — there are situations where each one makes more sense.
Pattern bits are closely related. Same idea but with the bearing on the opposite end from a flush trim. Some people use the terms interchangeably, which drives me a little crazy, but functionally they do the same job from different reference points.
Profile Bits — Adding Character
Roundover bits are probably the most used profile bit in any shop. They soften sharp edges into a smooth radius. A quarter-inch roundover on the edge of a tabletop transforms it from sharp and cheap-looking to comfortable and refined. Get quarter-inch and half-inch roundover bits to start. Those two sizes cover the majority of edge treatments I do.
Chamfer bits cut angled edges — forty-five degrees is the standard angle. A small chamfer prevents chip-out on exposed edges and adds a nice visual detail. I chamfer the bottom edges of most things I build, partly for looks and partly because a chamfered edge does not catch and splinter when you slide something across a surface.
Ogee bits create that classic S-curve molding profile you see on traditional furniture. One pass with an ogee bit and suddenly your bookshelf looks like it belongs in a study instead of a dorm room. I do not use ogee profiles as often as roundovers, but when the project calls for a traditional look, nothing else nails it.
Shank Size Matters
Half-inch shank is stronger, more stable, and produces less vibration than quarter-inch. Use half-inch shank whenever your router accepts it. The thicker shank means the bit flexes less under load, which translates to cleaner cuts and a safer operation.
Quarter-inch shank is fine for smaller routers, trim routers, and light detail work. I use quarter-inch shank bits in my compact trim router for edge roundovers and small chamfers. But for anything heavy — deep dadoes, large profile cuts, template routing through thick stock — half-inch shank is the only way to go.
Carbide Over Steel, Every Time
Buy carbide-tipped bits. Always. They stay sharp dramatically longer than high-speed steel, especially in plywood and MDF which are brutally abrasive on cutting edges. Yes, carbide costs more upfront. But a carbide bit that lasts through fifty projects beats a steel bit you replace every five. The math is not even close.
Building Your Collection Sensibly
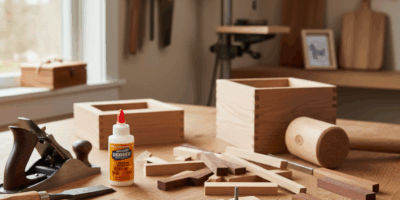
Do not buy the big fifty-piece set from the bargain bin. Most of those bits are profiles you will never use, and the quality is usually questionable. Start with a half-inch straight bit, a flush trim bit, a quarter-inch roundover, and a chamfer bit. Those four bits will get you through a remarkable number of projects.
Add more as specific projects demand them. Need a rabbeting bit for your cabinet build? Buy it then. Need a cove bit for that bookcase? Get it when you need it. Quality over quantity every single time. A few good bits from Whiteside or Freud beats a drawer full of unbranded junk that dulls after three cuts.


Stay in the loop
Get the latest classic custom wood furniture updates delivered to your inbox.