
Strengthening miter joints has gotten complicated with all the jig designs and methods flying around. As someone who has built more mitered boxes and picture frames than I can count, I learned everything there is to know about splines, keys, and reinforcement techniques. Today, I will share it all with you.
Why Miters Need Help
Here is the thing about miter joints that nobody tells beginners — they are weak. Really weak. You are gluing end grain to end grain, and end grain soaks up glue like a sponge without creating a strong bond. A basic miter joint with just glue will eventually fail under any real stress. I have had picture frames pop apart just from hanging on a wall in a room with seasonal humidity swings.
That does not mean you should avoid miters. They look fantastic. The continuous grain wrap around a corner is one of the most elegant details in woodworking. You just need to add mechanical reinforcement so the joint has actual strength behind that good-looking face. That’s what makes reinforced miter joints endearing to us woodworkers — they combine beauty with real structural integrity.
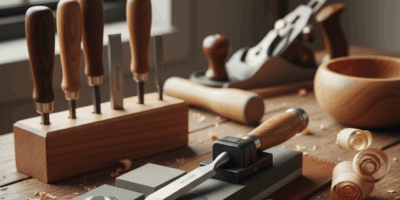
Splines — The Classic Reinforcement
Probably should have led with this section, honestly. Splines are thin pieces of wood glued into a slot that crosses the miter joint. They add a tremendous amount of strength because the long-grain spline bridges the weak end-grain glue joint.
The process is simple. Assemble and glue your miter joint first. Once the glue has dried, cut a slot across the joint using a table saw sled or a router jig. Then glue a thin piece of wood — your spline — into the slot. Trim it flush after the glue dries. You can make splines from the same species for a hidden look or use a contrasting wood like walnut splines in maple for a decorative accent.
I typically cut my spline slots about a third of the way through the joint from the outside corner. The slot width depends on the spline material — an eighth of an inch is a common choice. Make sure the grain of the spline runs across the joint, not along it. If the grain runs the wrong direction, the spline adds no strength and can actually crack.
Keys — Visible and Decorative
Keys work on the same principle as splines, but they are meant to be seen. You cut the slot at an angle to the joint — usually from the outside corner at about forty-five degrees — and glue in a wedge-shaped piece of contrasting wood. The result is both structural and beautiful.
I use a dedicated key-cutting jig that holds the assembled box or frame at an angle to the table saw blade. Getting the angle consistent across all four corners matters for the visual effect. Sloppy angles look intentional in the worst way.
Contrasting wood choices are where the fun is. Ebony keys in cherry, walnut keys in maple, padauk keys in white oak — the combinations are endless. I have started matching key wood to other details in the piece, like drawer pulls or inlay, for a cohesive design.
Other Reinforcement Methods
Biscuits work well for alignment and add some cross-grain strength. I use them more for keeping mitered panels aligned during glue-up than for pure strength, but they do help. The biggest advantage of biscuits is speed — cut the slots before assembly and the pieces practically align themselves.
Dowels can pin a miter joint together from the inside where they will not show. Drill through one side of the joint into the other, glue in a dowel, and trim flush. Simple and effective, though getting the drill angle right takes a steady hand or a good guide.
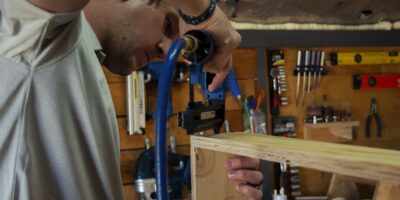
Pocket screws from the inside face give you instant holding power and help during glue-up. They are not the most elegant solution, but for utility projects where the inside of the joint is hidden, they work great. I use them for quick shop projects where I do not want to wait for spline glue-ups to dry.
For maximum strength, I combine methods. A mitered box with both glue and splines is strong. The same box with splines and a biscuit at each joint is very strong. The same box with all of that plus a dado for the bottom panel is nearly indestructible. Match the reinforcement to the demands of the piece.


Stay in the loop
Get the latest classic custom wood furniture updates delivered to your inbox.