
Letter carving was my gateway into woodworking. I started making name signs for family members, and it taught me tool control, grain direction, and patience. Here’s how I approach it.
Choose the Right Wood
Start with basswood or butternut – soft, consistent grain that carves predictably. Pine works but has hard and soft spots that can catch your tools. Hardwoods like oak look beautiful but fight back more.
Whatever you choose, make sure it’s properly dried and has straight grain. Knots and wild grain create problems.
Design First
I sketch letters on paper before touching wood. Simple block letters are easier for beginners than script. Serif fonts give you more to work with – the thick and thin strokes create visual interest.
Transfer the design to wood using carbon paper or by pressing through the paper with a stylus. A clear pencil outline is your guide throughout.
The Tools
A V-gouge does most of the work – it creates clean outlines and the angled cuts that define letter shapes. I use a 60-degree V-tool for most letters.
A small flat chisel cleans up bottoms of incised letters. A skew chisel works along straight lines. A mallet helps when the wood is dense.
Sharp tools matter enormously. Dull tools tear instead of cutting cleanly.
Basic Technique
Outline first, working around each letter with the V-gouge. Make shallow passes to establish the shape before going deeper. You can always remove more wood; you can’t add it back.
Watch the grain direction. Cutting across the grain is different from cutting with it. When you feel the tool diving into the wood, stop and approach from the other direction.
Finishing
Sand lightly if needed – sometimes the carved surface is beautiful as-is. Clean out the letter grooves with a small brush.
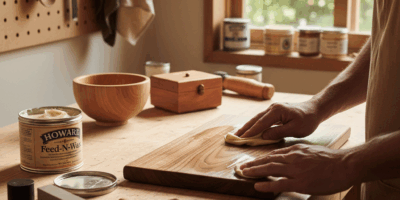
A simple oil finish brings out the wood and makes the letters pop against the background. Dark stain in the letter cuts with lighter surrounding wood is another classic look.
First Project Suggestion
Carve your initials or a simple three-letter word. Give yourself permission to make mistakes – that’s how you learn what the tools do and how the wood responds.


Stay in the loop
Get the latest classic custom wood furniture updates delivered to your inbox.