Working with green wood taught me patience. Properly dried lumber is stable. Wet lumber warps, cracks, and destroys projects. Here’s what I’ve learned about drying wood.
Why It Matters
Fresh-cut wood is 50-100% moisture content depending on species. Furniture-grade wood needs to be 6-8% for indoor use. The journey between those numbers is where things go wrong if you rush it.
Air Drying
Stack lumber with stickers (thin strips) between layers. Good airflow, protection from rain, level foundation. The rule of thumb is one year per inch of thickness, but it varies by species and climate.
Air drying alone usually gets wood to 12-15% moisture content. For indoor furniture, you’ll need additional drying.
Kiln Drying
Commercial kilns speed the process dramatically – days instead of months. They also kill insects and set the pitch in resinous woods. Most lumber you buy is kiln-dried.
Small-scale kilns (solar or electric) work for hobbyists who process their own lumber.
Conditioning After Drying
Even kiln-dried lumber needs time to acclimate to your shop. Stack it in your workspace for a couple weeks before milling. The moisture content will equalize with your environment.
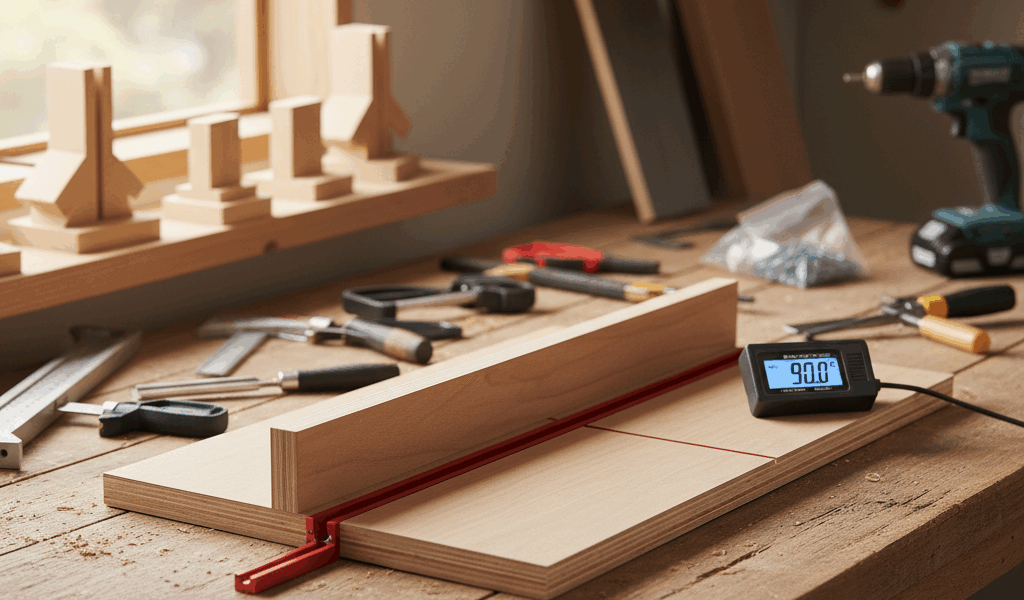
Measuring Moisture
Pin meters stick probes into the wood and measure electrical resistance. Pinless meters use radio frequency. Both work. I use a pin meter for quick checks and pinless for finished surfaces I don’t want to mark.
The Mistakes
Using wood before it’s ready. Storing dried lumber in a damp garage. Finishing one side of a board (traps moisture, causes cupping). Moving furniture between dramatically different environments.
All preventable if you understand that wood is always trying to reach equilibrium with its surroundings.


Stay in the loop
Get the latest classic custom wood furniture updates delivered to your inbox.