Flush Nailer Attachments — A Tool That Actually Delivers
As someone who’s done trim carpentry and cabinetry work for years, I learned everything there is to know about getting nails perfectly flush without spending twenty minutes per joint with a hammer and nail set. Today, I will share it all with you. The flush nailer attachment is one of those tools that sounds like a gimmick until you use it — then you wonder how you ever worked without it.
What It Actually Is
A flush nailer attachment isn’t a standalone tool. It’s an accessory that fits onto your existing nailer. Its job is simple: drive nails perfectly flush with the surface every single time. No proud nails sticking up, no need for follow-up hammering to seat them properly.
Nailer attachments has gotten complicated with all the different brands and compatibility issues flying around, but most flush nailer models work with common nailer brands. They’re lightweight enough that they don’t throw off the tool’s balance, and the mechanism is straightforward — a stop that prevents the nail from going too deep or sitting too proud.
Why It’s Worth Having
Efficiency is the big one. Tasks that used to require multiple passes or a nail set and hammer can now be knocked out in a single shot. On a full day of trim work, that time savings adds up fast. Less physical strain too, since you’re not doing repetitive adjustments after every nail.
Safety is another factor I didn’t appreciate until I started using one. No more sharp nail ends poking up from surfaces. In schools, public buildings, or anywhere people touch the woodwork, that matters.
And the precision — for anyone doing finish work where appearance matters, a consistent, clean surface without raised fasteners saves you from excessive filling and sanding. Probably should have led with this point, honestly, because the time saved on finishing alone justifies the cost.
Picking the Right One
Think about what you’re building. The type of projects you do should drive the purchase. Compatibility with your existing nailer is crucial — buying from the same manufacturer usually guarantees a proper fit without surprises.
Some attachments have adjustability features for different nail sizes and material types. That flexibility matters if you’re switching between hardwoods and softwoods or using different gauge nails. And don’t overlook build quality — a well-made attachment survives years of heavy use. The cheap ones wear out and start performing inconsistently. Ask me how I know.
Taking Care of It
Regular cleaning prevents debris and dust from gumming up the mechanism. Follow the manufacturer’s cleaning instructions — they wrote them for a reason. A little lubricant on the moving parts keeps everything operating smoothly.
Inspect for wear periodically. A worn attachment starts giving you inconsistent results, which defeats the entire purpose. Replace worn parts promptly rather than trying to nurse them along.
Where It Really Shines
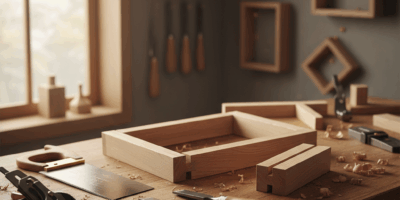
Cabinetry is the obvious answer — seamless joints and a sleek appearance without visible fasteners. Hardwood flooring is another natural fit, where every nail needs to sit flush. Trim work, paneling, chair rails, crown molding — basically anywhere the finished surface is visible and aesthetics count.
That’s what makes flush nailers endearing to us finish carpenters. The difference between visible nail heads and a clean surface is the difference between “it looks fine” and “it looks professional.”
Common Headaches and How to Avoid Them
Misalignment is the most frequent issue, and it almost always comes from rushing the installation. Take time to attach it properly according to the instructions and verify everything is secure before driving nails into actual workpieces.
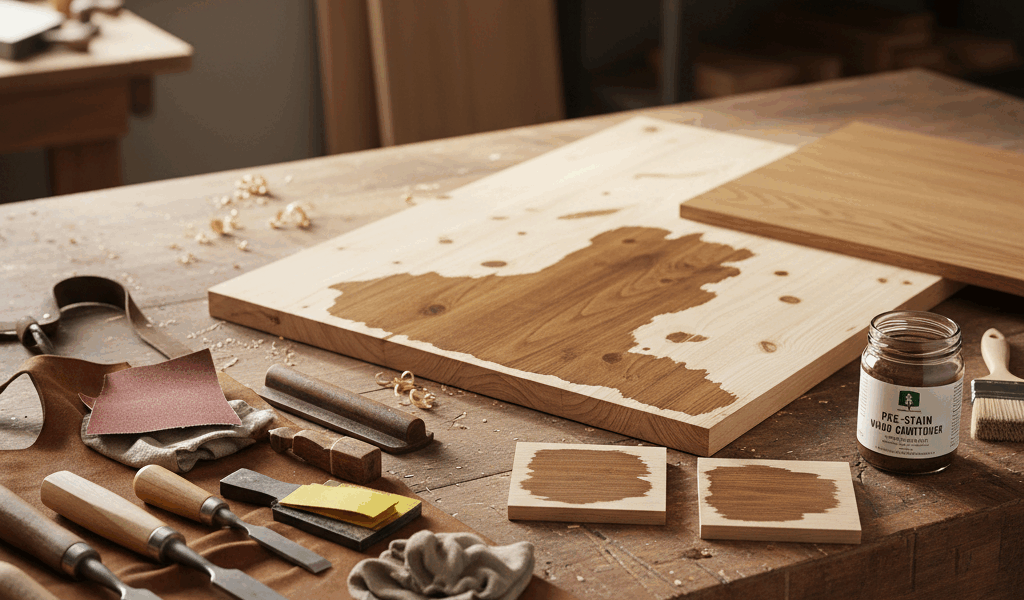
Pressure calibration trips people up too. Too much and you’re over-sinking nails. Too little and they sit proud. My advice: always test on scrap material first. Different woods and different nail sizes need different settings. Spend two minutes dialing it in and save yourself from ruining a visible surface.
Tools That Complement It
A good pneumatic nailer with consistent power delivery is the ideal partner. That means a reliable air compressor too — inconsistent pressure gives inconsistent results no matter how good your attachment is.
Use quality nails. Cheap nails bend, and bent nails plus a flush attachment equals a bad day. If you’re working with wood, a moisture meter helps ensure optimal nailing conditions — wet wood holds nails differently than dry wood.
And honestly, practice is the best companion tool. The more you use the attachment, the better your instincts get for pressure, speed, and angle. It becomes second nature after a while.
Recommended Resources
Complete Home Repair – $35.00
Comprehensive DIY home improvement guide.
Black & Decker Wiring Guide – $24.99
Step-by-step electrical projects.
As an Amazon Associate, we earn from qualifying purchases.


Stay in the loop
Get the latest classic custom wood furniture updates delivered to your inbox.