Building a crosscut sled has gotten complicated with all the micro-adjustment systems and fancy designs flying around. As someone who has built at least five different crosscut sleds over the years — each one better than the last — I learned everything there is to know about getting zero clearance and perfect ninety-degree cuts. Today, I will share it all with you.
Why Every Table Saw Needs a Crosscut Sled
If you are crosscutting on a table saw with just the miter gauge, you are working harder and less accurately than you need to be. A crosscut sled supports the workpiece on both sides of the blade, which means less chance of the piece shifting or rotating during the cut. Safer cuts. Cleaner cuts. More repeatable cuts. That’s what makes a good crosscut sled endearing to us table saw users — it turns your saw into a precision crosscutting machine.
I use my crosscut sled for eighty percent of my table saw work. Crosscuts, miters with a jig block, small parts that would be terrifying to cut freehand against the fence — the sled handles all of it. It is arguably the most essential table saw accessory you can build.
Construction Basics
Probably should have led with this section, honestly. The sled itself is not complicated, but the materials and dimensions matter.
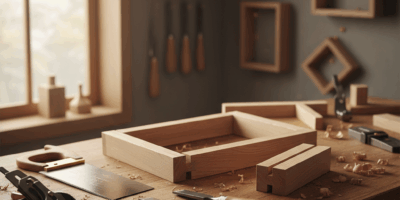
Start with a flat piece of plywood for the base. I use half-inch Baltic birch because it stays flat and the edges do not chip easily. MDF works too but it is heavier and swells if it gets wet. Size the base for your typical work. Mine is about twenty-four inches deep by thirty inches wide, which handles most cabinet and furniture parts.
The runners go in the miter slots and are what guide the sled through the cut. I make mine from hardwood — usually hard maple or UHMW plastic. The fit in the miter slot needs to be snug but not tight. You want the sled to slide smoothly without any side-to-side wobble. I plane my runners to fit, sneaking up on the final dimension until the sled glides with zero play.
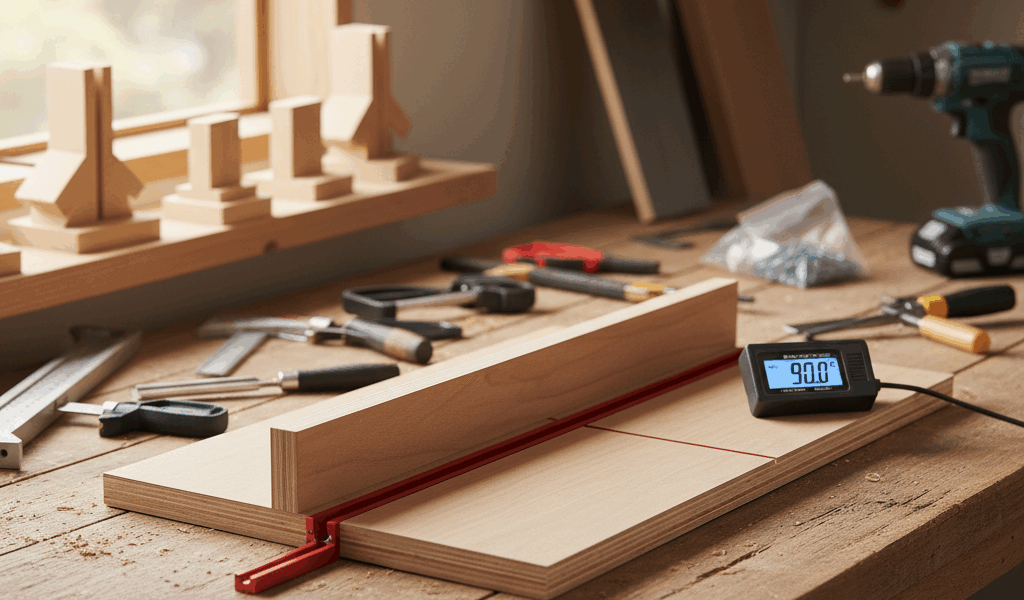
The rear fence is the critical piece. It must be perfectly perpendicular to the blade. I use a straight piece of hardwood or plywood, at least three inches tall, glued and screwed to the base. Getting this square is the entire point of the sled, so take your time here.
Calibration — This Is Where It All Happens
Check the fence square to the blade with the five-cut method. Cut a piece of plywood into a rectangle, crosscut one end on the sled, rotate the piece ninety degrees, crosscut again, rotate, cut, rotate, cut. After five cuts, measure the first and last cut edges. If they are not perfectly parallel, your fence is off.
Micro-adjust as needed. I put a screw at one end of the fence so I can tap it with a mallet for tiny adjustments. A thousandth of an inch at the fence translates to visible error over a long cut, so dial this in carefully. Verify with test cuts on scrap and measure with calipers.
Recheck periodically. Wood moves. Sleds get bumped. I check my sled accuracy every few weeks and whenever I make a critical cut. A quick test cut takes thirty seconds and saves you from discovering your sled is off when you are cutting parts for a project.
Using the Sled Day to Day
Hold your workpiece firmly against the rear fence. I mean firmly. Use your hand or a clamp — never let the piece float free during the cut. Push the sled through the cut smoothly in one motion. Do not stop and restart mid-cut or you will get a burn mark or a step in the cut surface.
The kerf in the base is normal. That initial cut through the base is actually your zero-clearance reference — it shows you exactly where the blade will cut. Over time and after blade changes, the kerf widens. When it gets sloppy enough that small pieces can drop into it, it is time to build a new sled. I usually get a year or two out of each one depending on how much I use it.
Add hold-down clamps if you are cutting small or oddly shaped pieces. Toggle clamps bolted through the fence work great. I have two on my sled and use them more than I expected when I first installed them. Safety first — fingers near a spinning table saw blade are not where you want to be.


Stay in the loop
Get the latest classic custom wood furniture updates delivered to your inbox.