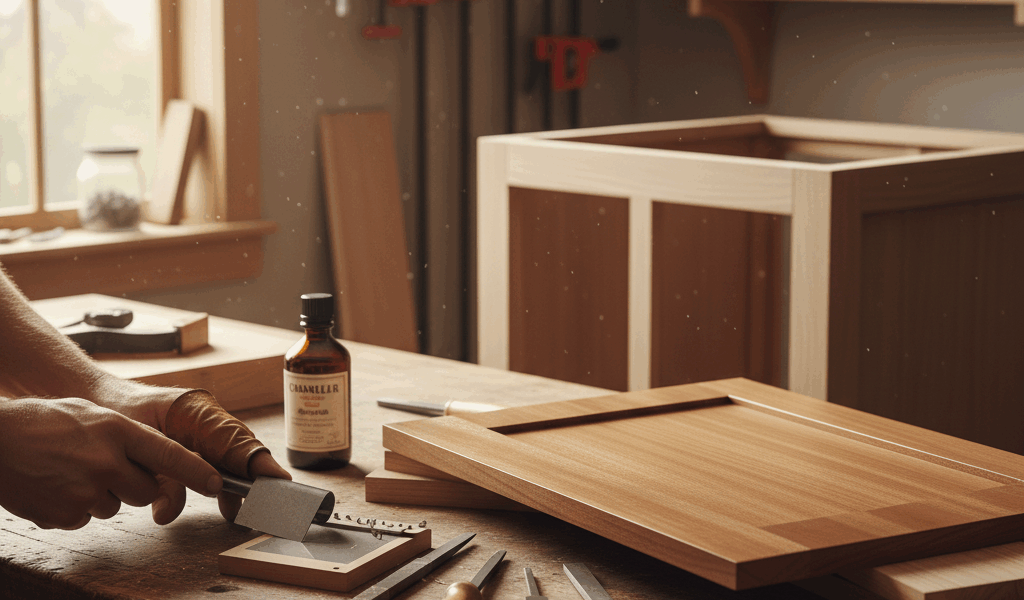
Cabinet scraper sharpening has gotten complicated with all the specialty burnishers and multi-step systems flying around. As someone who struggled with card scrapers for years before finally cracking the code, I learned everything there is to know about creating that perfect cutting hook. Today, I will share it all with you.
Why Scrapers Are Worth the Trouble
A sharp card scraper will change how you approach finishing wood. No dust. No swirl marks from sandpaper. No clogged paper or clouds of sawdust in your face. Just clean shavings curling off the surface and a finish-ready surface underneath. Once I got my scraper sharpening dialed in, I cut my sanding time in half. That is not an exaggeration.
That’s what makes cabinet scrapers endearing to us hand tool woodworkers — they give you a superior surface with less effort once you understand the sharpening. The key word there is “once.” Getting there takes some practice.
Understanding the Hook
Probably should have led with this section, honestly. Card scrapers do not work like sandpaper. They cut with a tiny hook of steel that is rolled over the edge of the scraper. No hook, no cutting. Just a piece of flat steel sliding across your workpiece doing nothing. The entire sharpening process is about creating that hook, and every step feeds into the next.
Step One — Square the Edge
File or stone the edge perfectly square and flat. Ninety degrees to both faces. I clamp the scraper in a vise with about a quarter inch sticking up and run a mill file along the edge. Some people use a sharpening stone, and either works fine. The point is to get a clean, flat edge that is dead square to the faces.
If your edge is not square to start, nothing else in this process works. I mean that literally. A rounded or wavy edge will produce an uneven hook that chatters and skips instead of cutting smoothly. Spend your time here. Check with a small square if you need to. This foundation step is where most people go wrong and then blame the tool.
Step Two — Stone the Faces
Lay the scraper flat on a fine sharpening stone and polish both faces near the edge. This removes any burr left over from the filing step. Just a few light strokes on each side — you are not trying to flatten the entire scraper, just clean up the area right at the edge where the hook will be formed. I use a thousand grit waterstone for this.
Step Three — Burnish the Hook
Here is where the magic happens. A burnisher is just a hard, smooth rod of steel. You can use a proper burnishing tool, or in a pinch, the back of a chisel or the shaft of a screwdriver works. Anything harder than the scraper steel that has a smooth, polished surface.
First pass: run the burnisher flat along the edge a few times with firm pressure. This draws the steel out sideways, creating a tiny wire edge. Keep the burnisher perfectly flat against the edge for this step.
Second pass: tilt the burnisher about five to ten degrees off flat and roll a hook over the edge. Light pressure. A few strokes. That is all it takes. Too much pressure or too steep an angle creates a fragile hook that breaks off immediately. Subtle is the name of the game.
Using It and Maintaining the Edge
Flex the scraper slightly with your thumbs pushing from behind. This bows the scraper so only the center contacts the work, preventing the corners from digging in. Push or pull — both work depending on the situation. You want fine shavings coming off, not dust. If you are getting dust, your hook is gone or was never there.
The scraper getting hot in your hands is actually a good sign. It means the hook is engaging and cutting. I keep a piece of leather nearby to hold the scraper when it gets uncomfortably warm during extended use.
When it stops cutting, refresh the burr with the burnisher. Usually just a few strokes at that five to ten degree angle brings it back. You can refresh many times before you need to start over with the file. Eventually the hook gets too thin and ragged and you need to file a fresh edge, stone the faces, and burnish again. But each full resharpening only takes about five minutes once you have the process down.


Stay in the loop
Get the latest classic custom wood furniture updates delivered to your inbox.