Rabbet joints have gotten complicated with all the debate about router tables versus table saws flying around. As someone who has cut thousands of rabbets using both methods over the years, I learned everything there is to know about when to reach for which tool. Today, I will share it all with you.
Understanding the Rabbet Joint
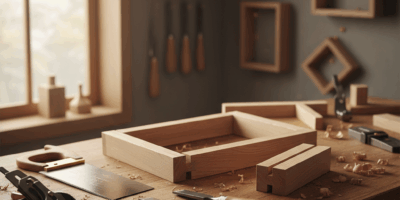
A rabbet is basically a step cut along the edge or end of a board. That step creates a ledge that receives a mating piece, and the result is a clean, simple joint that hides end grain and adds some mechanical strength beyond just glue. I use rabbets constantly. Back panels on cabinets, drawer bottoms, frame-and-panel construction — this joint shows up everywhere in my shop.
It is one of those joints that beginners overlook because it seems too simple. But simple does not mean weak. A well-fitted rabbet with good glue coverage is surprisingly strong, especially when the piece sitting in that ledge adds rigidity to the overall structure. That’s what makes rabbet joints endearing to us woodworkers — they are the workhorse joint that never gets the glory but holds everything together.
Sizing Your Rabbets Correctly
Probably should have led with this section, honestly. Getting the dimensions wrong is the number one mistake I see, and I made it myself plenty of times early on.
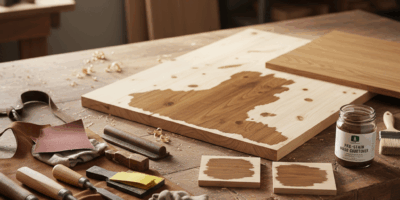
The width of your rabbet should equal the thickness of the mating piece. If you are housing a half-inch plywood back panel, your rabbet needs to be half an inch wide. Sounds obvious, but plywood is rarely exactly the thickness it claims to be. Measure your actual material every time.
Depth is typically half the thickness of the stock you are rabbeting. So if your cabinet side is three-quarter-inch thick, cut the rabbet three-eighths deep. Go much deeper than that and you start weakening the remaining stock. Go too shallow and the mating piece sticks out past the surface. I learned this balance the hard way on a bookcase where I cut my rabbets too deep and the sides flexed under load.
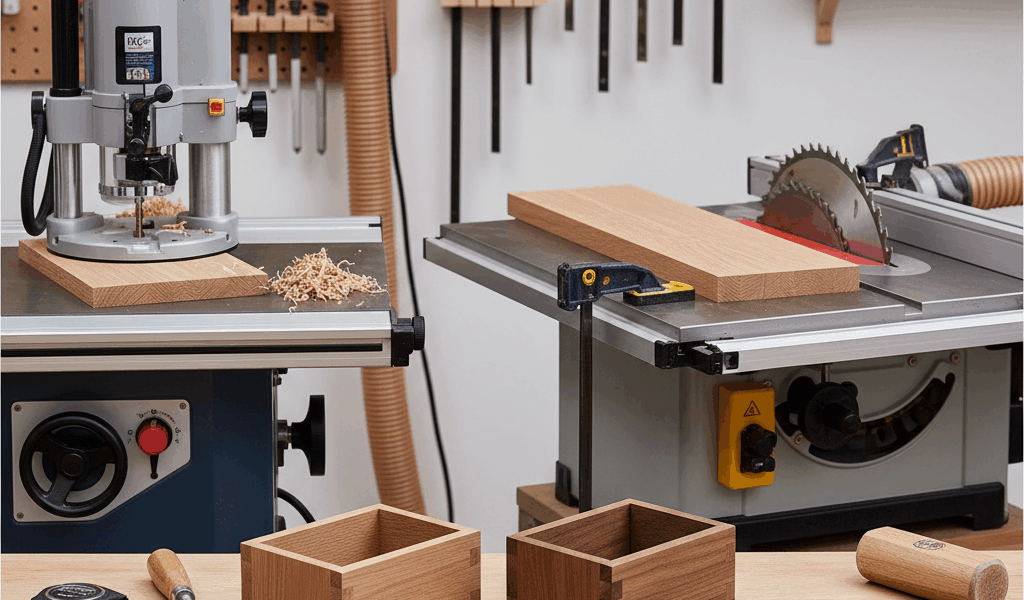
Table Saw Method
For long straight rabbets, the table saw is my go-to. You can cut a rabbet with two passes on a standard blade — one flat cut and one edge cut. Set your fence and blade height, run the piece through face down for the first cut, then stand it on edge against the fence for the second cut. The waste piece just falls away.
If you have a dado blade, it gets even easier. Stack the dado to match your rabbet width, set the depth, and make one pass. Done. I actually keep a dado blade set up on a dedicated table saw insert just for rabbets and dadoes because I cut so many of them.
The table saw method works best for long, straight pieces. Consistency is excellent because the fence keeps everything registered. My one warning is to use a featherboard or hold-down clamp. Thin stock can ride up over the blade if you are not careful, and that is a bad day for everyone.
Router Table Method
A rabbeting bit in a router table is the way to go for shorter pieces, curved work, or when you need a rabbet on all four edges of a panel. The bearing on a rabbeting bit rides against the edge of the stock and limits the cut width. Swap bearings to change the rabbet width — most sets come with multiple bearing sizes.
I prefer the router for rabbets on already-assembled pieces too. You can run a handheld router with a rabbeting bit along the inside of a face frame to create a recess for glass or a panel. Try doing that on a table saw.
A hand-cut option exists too. A rabbet plane does beautiful work, especially for fine furniture where you want absolute control. It takes longer, sure. But there is no tearout risk and the surface left by a sharp rabbet plane is glass-smooth. I keep a vintage Stanley 78 on my bench for exactly this purpose.
Real-World Applications
Case backs are probably the most common use. Nearly every cabinet, bookcase, and box I build has a rabbet on the back edges to receive a plywood panel. The rabbet hides the plywood edge and creates a clean look from the side.
Lids and frames use rabbets extensively. A picture frame with rabbets holds the glass, mat, and backing in place. Drawer bottoms sit in rabbets or dadoes cut into the drawer sides. Glass panel installation in cabinet doors uses a rabbet to create a recess for the glass and retaining strips.
Once you get comfortable with rabbets, you will start seeing opportunities for them everywhere. They are the kind of joint that makes your work look more refined without adding much time to the build.


Stay in the loop
Get the latest classic custom wood furniture updates delivered to your inbox.