Mortise and tenon joinery has gotten complicated with all the dedicated machines and jig systems flying around. As someone who has been cutting these joints by hand and machine for as long as I have been building furniture, I learned everything there is to know about this foundational joint. Today, I will share it all with you.
Why This Joint Has Lasted Centuries
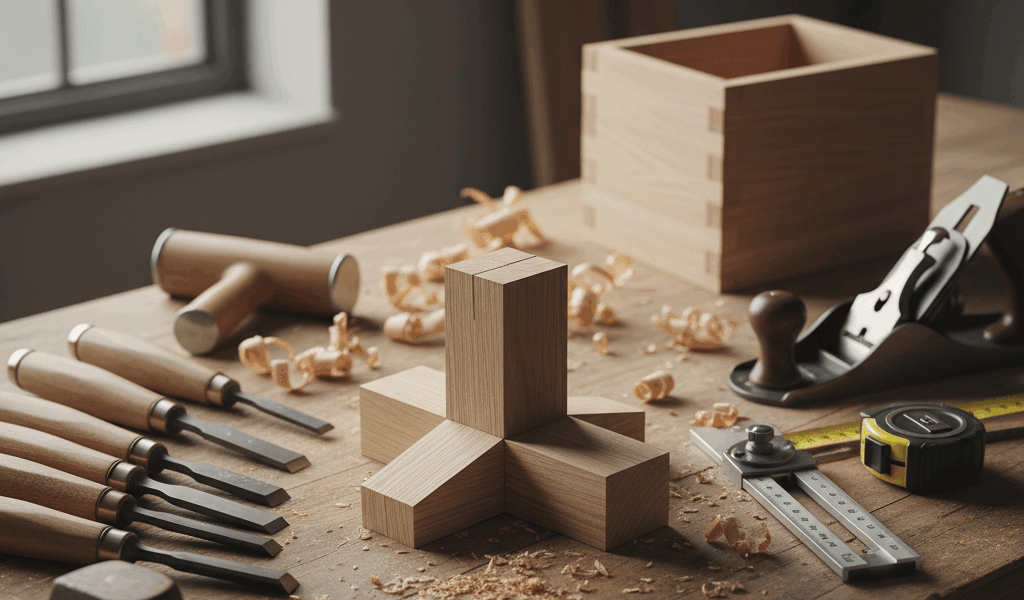
The mortise and tenon is arguably the strongest joint in woodworking. A rectangular peg fits into a rectangular hole. Glue bonds the long-grain surfaces, and the mechanical interlock resists forces that would pull a simple butt joint apart in seconds. Frame construction — table legs to aprons, door frames, chair joinery — all rely on mortise and tenon connections. This joint has been in continuous use for thousands of years because nothing works better for the job.
That’s what makes the mortise and tenon endearing to us furniture makers — it represents the core of solid joinery that will outlast us all.
Sizing Principles That Work
Probably should have led with this section, honestly. Getting the proportions right is the difference between a joint that holds for generations and one that fails within a few years.
Tenon thickness should be roughly one-third the thickness of the stock. On a three-quarter-inch board, that means a quarter-inch tenon. This leaves enough material on both sides of the mortise to maintain strength while giving the tenon adequate glue surface. I have experimented with thicker tenons and thinner ones, and the one-third rule holds up as the sweet spot for most furniture applications.
Cut the mortise depth slightly deeper than the tenon length. This provides a glue reservoir at the bottom of the mortise — somewhere for excess glue to go during assembly instead of hydraulically preventing the joint from closing. I typically make my mortises an eighth inch deeper than the tenon.
Tenon width varies by design. On a table apron, the tenon width might be nearly the full width of the apron minus a little at top and bottom for reveal. On a door frame, the tenon might be narrower to leave room for a groove that holds the panel. Match the width to the structural demands and the visual design.
Cutting Methods
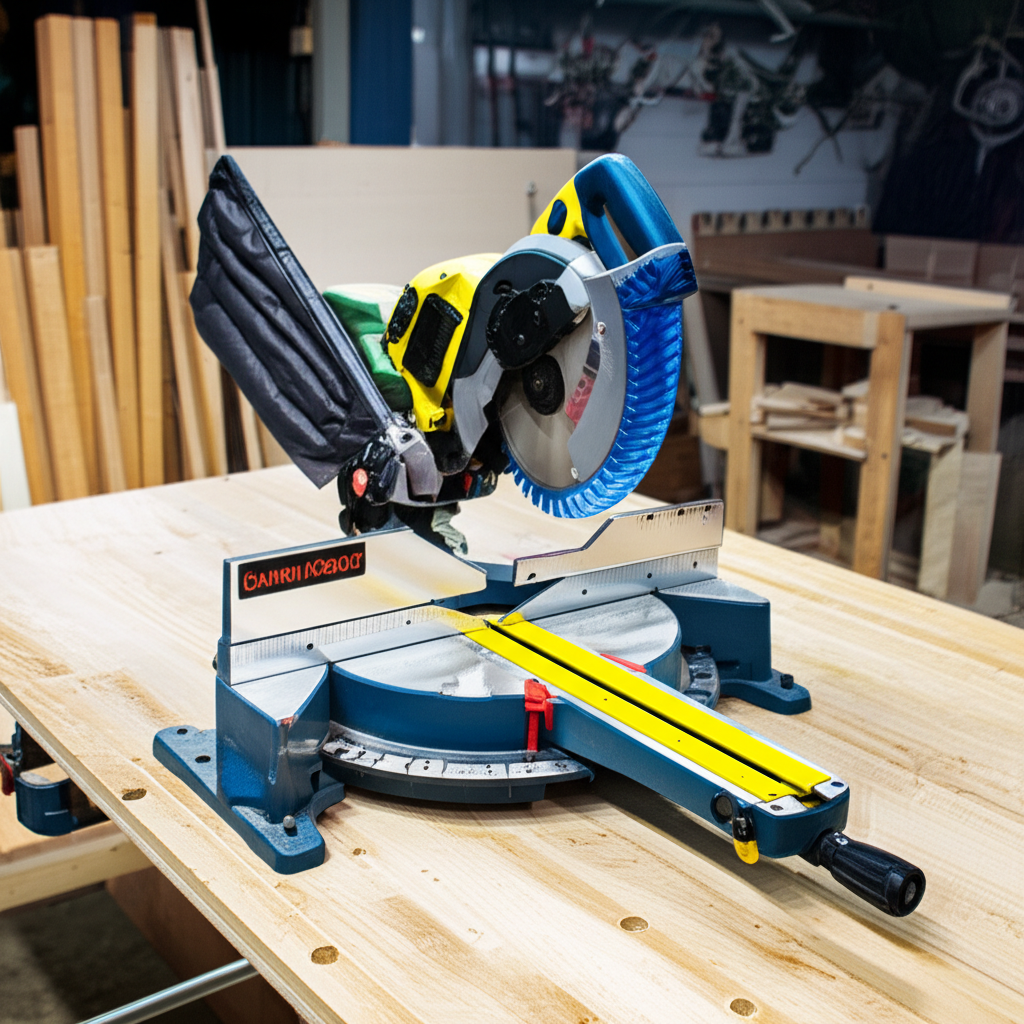
The table saw creates tenons efficiently using either a dado stack or a standard blade with a tenoning jig. I cut the cheeks with the workpiece standing vertically against a dedicated tenoning sled, then trim the shoulders with the piece flat on a crosscut sled. Two setups, clean results, repeatable for production runs.
Routers make mortises quickly. A plunge router with a fence attachment or a router table with a stop block lets you cut clean, consistent mortises. I use a spiral upcut bit which clears chips efficiently and leaves smooth mortise walls. Mark your start and stop points on the fence and you can crank out a dozen mortises without changing the setup.
Chisels provide the hand tool approach that some woodworkers prefer. Lay out the mortise, drill out the waste with a brace and bit or drill press, then chop and pare to the lines with a chisel. For tenons, saw the cheeks and shoulders with a backsaw. This method takes longer but gives you complete control and a deep understanding of the joint geometry.
Dedicated mortising machines — hollow chisel mortisers and slot mortisers — offer the highest precision for production work. If you are building a run of dining chairs and need forty identical mortises, a dedicated machine is the way to go.
Fitting for the Perfect Joint
Aim for a fit where the tenon slides into the mortise with firm hand pressure. You should not need a mallet to close the joint, but it should not fall out when you flip the piece over either. That hand-press fit gives you enough clearance for a thin glue line while maintaining a tight visual joint.
A slight gap at the bottom of the mortise allows glue squeeze-out to go somewhere during assembly. Without this space, hydraulic pressure from trapped glue can prevent the joint from closing completely or even split the mortise walls. Always test fit before any glue touches the wood.
Pare carefully to the final fit with a sharp chisel. Sneak up on it. A few thin shavings from a tenon cheek can take a joint from too-tight to perfect. Going too far takes it from perfect to sloppy, and there is no undo button in woodworking.


Stay in the loop
Get the latest classic custom wood furniture updates delivered to your inbox.