Half-lap joints have gotten complicated with all the jig designs and YouTube tutorials flying around. As someone who teaches this joint first to every beginner who walks into my shop, I learned everything there is to know about making them simple, strong, and versatile. Today, I will share it all with you.
Why Half-Laps Are the Perfect Starter Joint
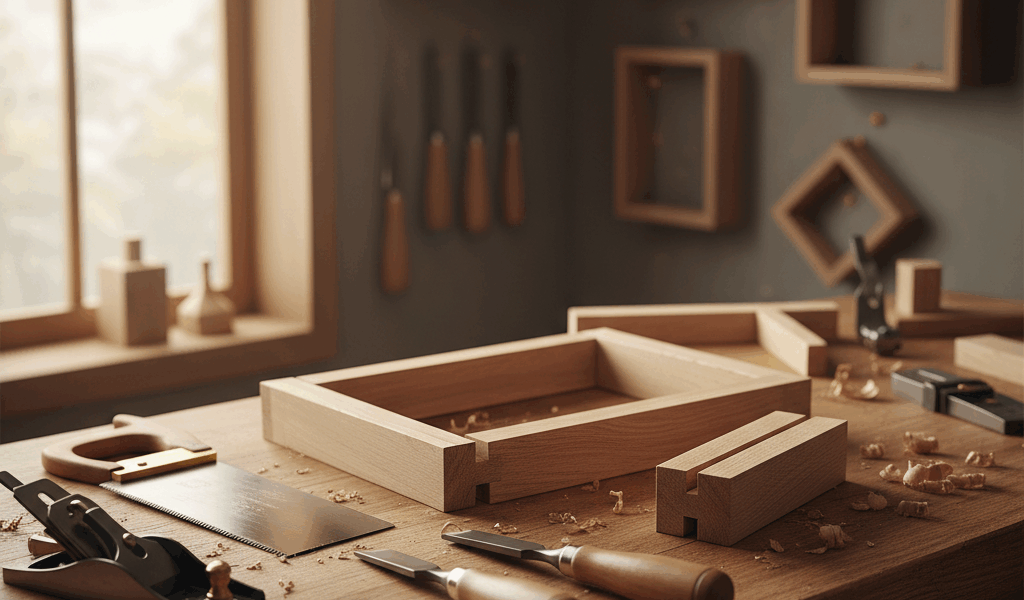
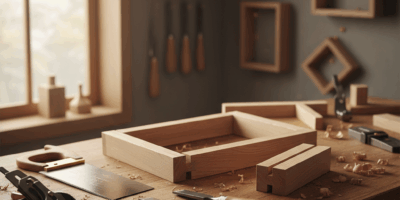
Here is the deal. You remove half the thickness from each piece where they overlap. When they come together, the surfaces sit perfectly flush. Clean. Simple. No fancy angles, no special tools required, and the joint is surprisingly strong because you get a big flat glue surface where the two pieces meet.
I use half-laps for frames, face frames, simple furniture, workbench stretchers — anywhere two pieces cross or meet at corners. That’s what makes half-lap joints endearing to us woodworkers — they solve a huge range of problems with one straightforward technique that anybody can learn in an afternoon.
Do not let the simplicity fool you though. A tight half-lap in contrasting woods is a beautiful thing. I have seen high-end furniture makers use them as a design feature, not just a utilitarian joint.
Layout — Getting It Right From the Start
Probably should have led with this section, honestly. Good layout is the difference between a joint that slides together with a satisfying click and one that has ugly gaps.
Mark half the thickness on both pieces. Use a marking gauge if you have one — it is way more accurate than eyeballing with a ruler and pencil. Set the gauge to exactly half your stock thickness, lock it, and scribe the depth line on both faces and both edges of each piece. This reference line is everything.
The width of the cut equals the width of the mating piece. Lay the mating piece right on top and knife your lines directly from it. This is more accurate than measuring because you are transferring the actual dimension, not a number from a ruler that might be slightly off. Square your lines all the way around the piece so you can see your marks from any angle.
Mark the waste clearly so you do not cut the wrong side. I draw big Xs on the waste side with a pencil. Ask me how I learned to do that. Spoiler: it involved a ruined piece of walnut and some language my wife did not appreciate.
Cutting Options — Pick What Works for You
Table saw with repeated passes is the most common power tool method. Set your blade height to exactly half the stock thickness using your scribed line as reference. Make a bunch of side-by-side cuts through the waste area, then clean up the ridges with a sharp chisel. This works great and does not require any special tooling.
A dado stack makes it way faster if you have one. Set the stack wide enough to cover the joint in one or two passes. Same blade height — half thickness. The dado leaves a flat bottom that usually needs minimal cleanup.
Router with a fence or edge guide is clean and accurate. Use a straight bit and set the depth to half thickness. The advantage of the router is that it leaves a dead-flat bottom surface, which means better glue contact. I use this method when I need really precise joints for visible furniture.
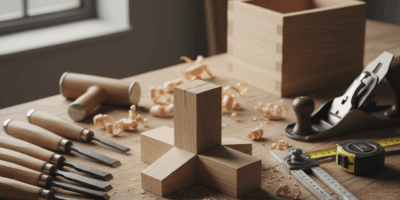
Hand saw and chisel if you are into that. I will not lie — it takes longer. But honestly, there is something deeply satisfying about cutting a joint the old way. Saw the cheeks, chop the waste with a chisel, pare to the line. On a quiet Saturday morning with no deadline, this is my preferred method.
Fitting and Gluing Up
Test fit dry first. Always. Every single time. The joint should slide together with slight resistance — what old-timers call a “hand-press fit.” Too tight and you risk splitting the wood when you add glue because PVA glue does not compress. Too loose and the joint will be weak and show gaps.
Pare with a sharp chisel to fine-tune the fit. Take thin shavings from the high spots. A sharp chisel gives you control down to a thousandth of an inch. Take your time here. This is where good joints happen. Rushing the fitting process is the fastest way to a mediocre result.
Apply glue to both surfaces, press together, check that the faces are flush, and clamp it. Walk away. Seriously. Do not touch it until the glue is dry — at least thirty minutes for handling, overnight for full strength. I have ruined joints by getting impatient and testing them before the glue cured. Just leave it alone and go sharpen something.

Stay in the loop
Get the latest classic custom wood furniture updates delivered to your inbox.