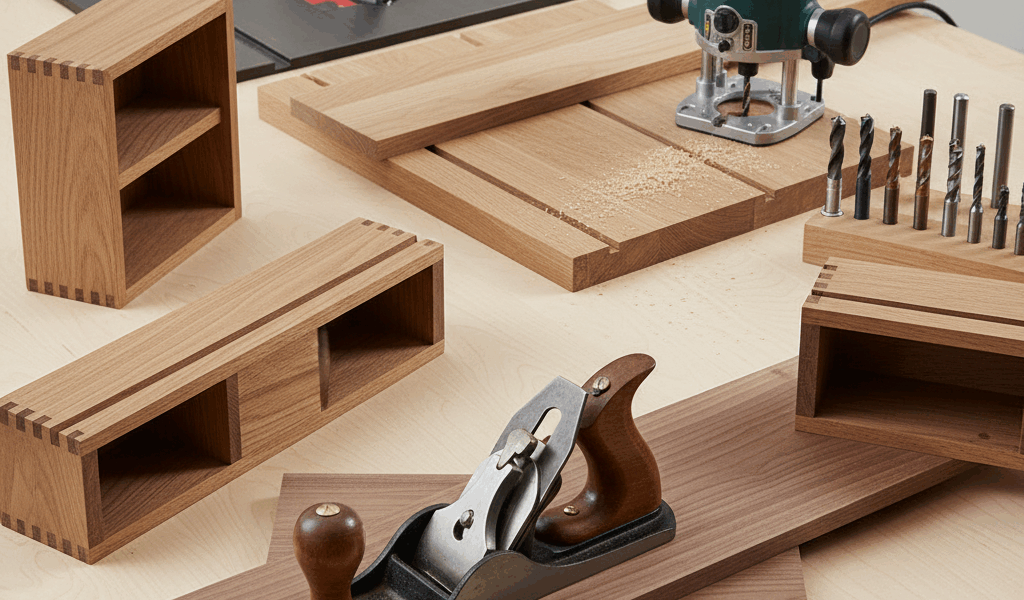
Cutting dadoes has gotten complicated with all the dado stack configurations, router jig builds, and hand tool purism flying around. As someone who has cut dadoes using every method available over the course of hundreds of projects, I learned everything there is to know about table saw stacks, routers, and even dado planes. Today, I will share it all with you.
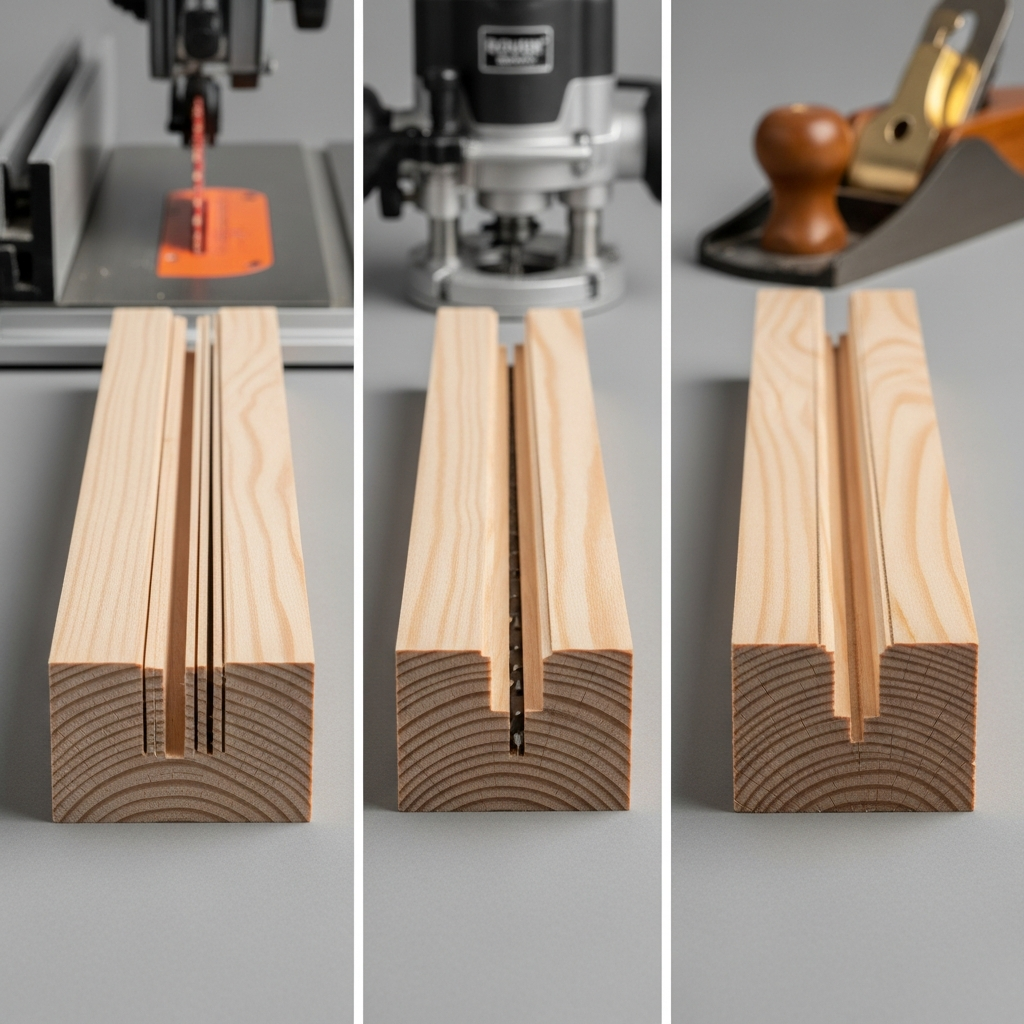
Table Saw Dado Stack — The Speed Demon
If you have a dado stack, this is usually the fastest method for cutting dadoes. Stack the chippers and outer blades to match your desired width, set the depth, and run the piece through. One pass and you have a clean, flat-bottomed dado. For production work where you need a dozen identical dadoes in a set of bookcase sides, nothing beats the dado stack for efficiency.
The downsides are real though. Good dado stacks are expensive — a quality set from Freud or Forrest will run you well over a hundred dollars. Some table saws, especially portable jobsite models, cannot fit a dado stack because the arbor is too short. And changing widths means pulling the stack apart, adding or removing chippers, shimming for odd sizes, and running test cuts all over again. I keep my dado stack set up for three-quarter-inch widths most of the time because that covers plywood shelf dadoes, which is my most common use.
That’s what makes a dado stack endearing to us production-minded woodworkers — once it is set up correctly, you can crank out perfectly consistent dadoes all day long.
Router Method — The Flexible Option
Probably should have led with this section, honestly. A straight bit, a guide fence or template, and a router give you accuracy that is hard to argue with. The router excels at dadoes on pieces too big or awkward for the table saw. A full-sheet of plywood getting dadoes for an entertainment center? Router with a straightedge guide, every time.
Wide dadoes require multiple passes, which takes more time but gives you complete control over the final width. You can sneak up on a perfect fit by making a slightly narrow initial pass and then widening it. Templates make stopped dadoes much easier too — dadoes that do not go all the way to the edge for a cleaner look.
I reach for the router on one-off projects and odd sizes where reconfiguring the dado stack would take longer than just clamping a guide and routing the dado. Setup takes a bit longer, but the flexibility is unmatched.
Dado Plane — The Hand Tool Route
Slower. Quieter. Deeply satisfying. A dado plane cuts the same joint with nothing but muscle power and a sharp blade. No dust collection system needed. No ear protection required. Just the sound of a sharp plane biting into wood and thin shavings curling out.
It takes practice to get consistent depth and width. This is not a production method by any stretch. But for fine furniture where you want that hand-tool character — or when you are working at nine in the evening and do not want to wake the neighborhood — a dado plane is perfect. I keep a vintage wooden dado plane that I restored years ago, and it still sees regular use.
What Actually Matters Regardless of Method
Depth should be about half the thickness of the board you are cutting into. Go deeper and you weaken the piece structurally. On a three-quarter-inch shelf side, that means dadoes about three-eighths of an inch deep. I have seen bookcases sag and fail because someone cut their dadoes too deep and the remaining wood could not handle the load.
Fit is everything. The mating piece — usually a shelf — should slide into the dado with snug resistance. Not forced, not loose. Test with a scrap piece of the actual shelf material before cutting your good stock. Plywood is almost never the exact thickness it claims to be, so measure and test.
Check for square with a combination square. An out-of-square dado causes visible gaps at the front edge that scream “amateur.” Take the time to verify your guide is truly perpendicular to the board edge.
Stopped dadoes — the ones that end before reaching the front edge — look dramatically cleaner on bookcases and cabinets. They take a bit more work because you need to square up the stopped end with a chisel and notch the front corner of the shelf to fit around the unstopped portion. But that extra ten minutes per dado elevates the whole piece.


Stay in the loop
Get the latest classic custom wood furniture updates delivered to your inbox.