Building a Solar Kiln: Dry Your Own Lumber for Free
Bought some green lumber cheap. Or milled your own from a downed tree. Either way, you need to dry it before you can use it. A solar kiln does this using nothing but sunlight.
I built mine for maybe $200 in materials. It’s not pretty but it works.
How It Works
Basically a greenhouse for wood. Sun heats the air inside. Hot air absorbs moisture from the wood. Vents let the humid air out. Repeat.
Takes longer than commercial kilns but costs nothing to run.
What You Need
- Framing lumber (2x4s work fine)
- Clear plastic or polycarbonate sheeting for the roof
- Black plastic or paint on the interior surfaces
- Vents (adjustable is better)
- Thermometer and humidity gauge
- Maybe a small fan for air circulation
Building the Frame
Size depends on how much wood you’re drying. Mine handles maybe 200 board feet at a time. Plenty for hobby use.
Build a sturdy box frame with a sloped roof facing south. The slope lets sunlight hit more directly. About 30-45 degrees works well in most locations.
Use rot-resistant lumber or at least treat it. The interior gets damp constantly.
The Collection Side
The south-facing surface needs to be clear to let light in. Greenhouse plastic is cheap but degrades in UV. Polycarbonate panels last longer but cost more.
Paint or cover everything inside with black material. Black absorbs heat. You want it hot in there.
Ventilation Is Critical
Moisture has to escape or the wood never dries. Install vents high and low – hot moist air rises and exits the top while fresh air enters at the bottom.
Adjustable vents let you control the process. On hot dry days, open them up. On humid days, restrict airflow so internal temperature stays higher.
Loading the Wood
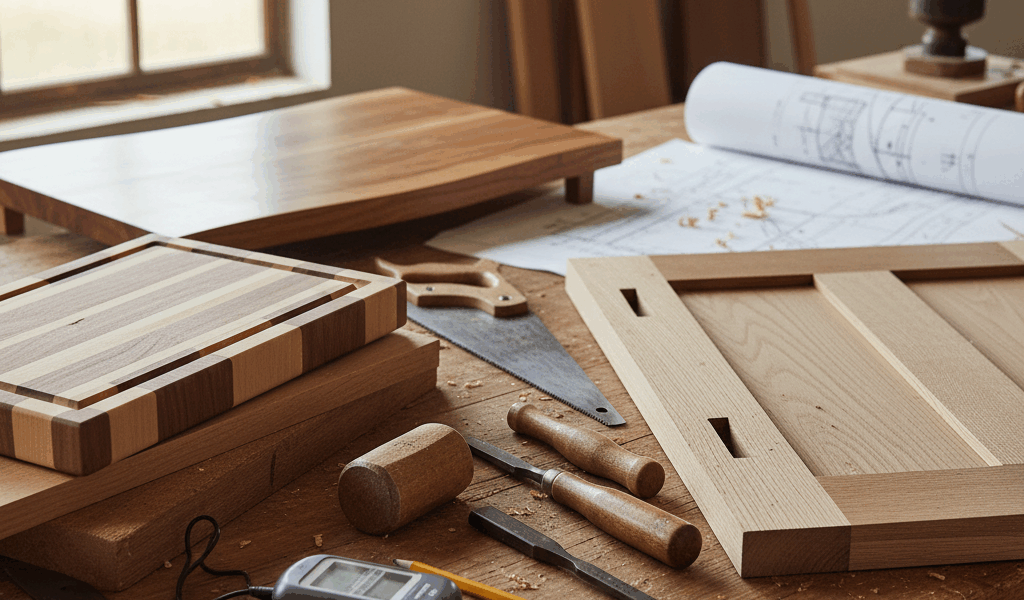
Stack with stickers (small spacer strips) between each layer. Air needs to flow around all surfaces.
Keep pieces of similar thickness together. Don’t overload – less wood dries faster than a packed kiln.
How Long It Takes
Depends on species, thickness, starting moisture, and weather. Rough estimate: about a month per inch of thickness for hardwoods. Softwoods are faster.
Monitor with a moisture meter. Target is usually 6-8% for indoor furniture, 12-14% for outdoor use.
Common Problems
Too fast = checking and cracking. Slow down by reducing ventilation.
Too slow = mold. More ventilation, or make sure the kiln is actually getting hot inside.
Uneven drying = restack with better spacing and rotate pieces occasionally.
It’s not complicated but does require attention. Check every few days and adjust as needed.

Stay in the loop
Get the latest wildlife research and conservation news delivered to your inbox.