
I built a solar kiln five years ago to dry my own lumber. Best shop project I’ve done – it paid for itself in the first year with wood I didn’t have to buy kiln-dried.
How It Works
A solar kiln is basically a greenhouse for lumber. The sun heats the enclosed space, air circulates around the stacked wood, moisture evaporates out through vents. Simple physics, but it actually works well.
Mine dries 1″ hardwood in 6-8 weeks during summer, faster for softwood. Not as quick as a commercial kiln, but I’m not in a hurry and free energy is free energy.
Basic Design
Build a wood frame, slope the roof south-facing at about a 30-degree angle. Cover with clear polycarbonate or UV-resistant plastic – it needs to let sunlight in but keep rain out.
Black plastic or metal on the floor and back wall absorbs heat. Vents on each end allow airflow. Small fans (solar powered if you want to be self-contained) keep air moving.
Size It Right
Mine holds about 400 board feet, which is a reasonable batch for a hobbyist. Bigger kilns are possible but need more robust construction and better ventilation.
Leave space between lumber stacks for airflow. Stickers (thin strips between layers) are essential – without them, the wood touching each other doesn’t dry evenly.
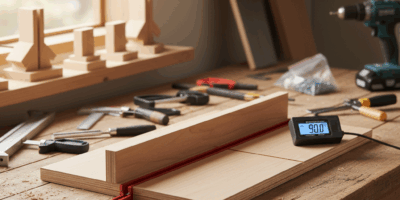
Monitoring
A cheap thermometer/hygrometer combo from Amazon tells you what’s happening inside. Temperature should hit 120-140°F on sunny days. Humidity drops as drying progresses.
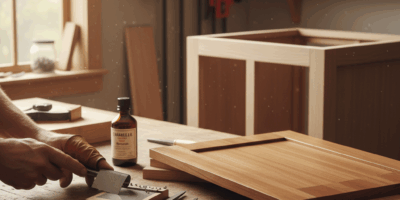
Check moisture content with a pin meter. Most species are workable at 6-8% moisture content for indoor furniture.
Costs
I built mine for about $400 in materials – polycarbonate was the biggest expense. Some folks do it cheaper with salvaged windows and plastic sheeting.
Realistic Expectations
Solar kilns work in most climates but obviously better in sunny areas. Cloudy weeks slow everything down. Winter drying is possible but much slower. Plan your wood drying around the seasons.


Stay in the loop
Get the latest classic custom wood furniture updates delivered to your inbox.